Pinning very small insects requires specialized techniques that differ from standard pinning methods. Insects smaller than 10mm are too delicate for direct pinning with standard insect pins—attempting to do so will damage or destroy the specimen. Instead, entomologists use point mounting, minuten pins, or slide mounting to preserve and display these tiny specimens while maintaining their scientific and aesthetic value.
When Are Special Techniques Needed?
Size Guidelines
-
10mm and larger: Standard direct pinning works well
-
5-10mm: Point mounting recommended
-
2-5mm: Minuten pins or point mounting required
-
Under 2mm: Slide mounting or specialized micro-techniques necessary
Insects That Commonly Require Special Techniques
- Small beetles (weevils, lady beetles, flea beetles)
- Tiny flies and gnats
- Small bees and wasps
- Ants (most species)
- Parasitic wasps and chalcids
- Micro-moths and small butterflies
- Aphids, thrips, and scale insects
- Springtails and other micro-arthropods
Method 1: Point Mounting (Most Common)
Point mounting is the standard technique for insects 5-10mm in size. The insect is glued to a small triangular card point, which is then pinned.
Materials Needed
- Stiff white card stock or specialized point cards
- Point punch (creates uniform triangles) or scissors
- Standard insect pins (size 2 or 3)
- Water-soluble archival glue or shellac
- Fine forceps or micro-forceps
- Pinning block
- Magnifying glass or microscope
- Fine brush or pin for applying glue
Step-by-Step Point Mounting
1. Create the Point
- Cut a triangular point from stiff card stock
- Standard dimensions: 8-10mm long, 3-4mm wide at base, tapering to sharp point
- Use a point punch for uniform, professional results
- White card is standard, but colored points can be used for organization
2. Pin the Point
- Insert a standard insect pin through the wide (base) end of the triangle
- Pin should go through center of the base
- Position point at standard height (1/3 down from pin head)
- Use pinning block to ensure consistency
- Point should be horizontal when pin is vertical
3. Apply Adhesive
- Place a tiny drop of glue on the tip of the point
- Use minimal adhesive—excess will obscure specimen features
- Water-soluble PVA glue is preferred (allows repositioning)
- Shellac is traditional but permanent
- Apply with fine brush, pin tip, or toothpick
4. Position the Specimen
- Using fine forceps, pick up the insect by its right side
- Gently press the insect's right side onto the glue drop
- Position so the insect is horizontal and facing forward
- Glue should contact the thorax, not the abdomen
- Ensure legs and antennae are visible and not stuck in glue
5. Adjust and Dry
- While glue is still wet, adjust position with fine forceps or pin
- Ensure specimen is level and properly oriented
- Position legs naturally if possible
- Allow to dry completely (1-24 hours depending on adhesive)
- Work under magnification for best results
Point Mounting Best Practices
-
Orientation: Insect glued on its right side (standard convention)
-
Viewing: Allows examination of underside and legs
-
Glue amount: Less is more—just enough to hold securely
-
Consistency: All points should be same size and shape
-
Labeling: Labels go on the pin below the point, as with standard pinning
Advantages of Point Mounting
- Preserves delicate specimens without damage
- Allows viewing of underside and appendages
- Uses standard pins for easy handling and storage
- Specimens can be examined under microscope
- Widely accepted in scientific collections
Method 2: Minuten Pins (For Micro-Insects)
Minuten pins are ultra-fine pins (0.1-0.2mm diameter) used for insects 2-5mm in size.
Materials Needed
- Minuten pins (sizes 0.1mm, 0.15mm, or 0.2mm)
- Small cork or pith blocks (5-8mm cubes)
- Standard insect pins (size 2 or 3)
- Fine forceps
- Microscope or high-power magnifier
- Steady hand and good lighting
Step-by-Step Minuten Pinning
1. Prepare the Specimen
- Insect must be fresh or properly relaxed
- Work under microscope for precision
- Have all materials ready before starting
2. Insert Minuten Pin
- Using fine forceps, hold the minuten pin
- Insert through the insect at the standard location for its order
- Pin should go straight through, emerging on underside
- Requires extreme precision and steady hands
- Work slowly to avoid bending the ultra-fine pin
3. Mount in Cork Block
- Insert the minuten pin into a small cork or pith block
- Specimen should sit on top of the block
- Minuten pin goes deep enough to be secure
- Specimen positioned at consistent height above block
4. Pin the Block
- Insert a standard insect pin through the cork block
- Pin goes through center of block, below the minuten pin
- Block positioned at standard height on the pin
- This allows normal handling using the standard pin
5. Spread and Dry
- If wings need spreading (micro-moths), use micro-spreading boards
- Position legs and antennae with fine pins or brushes
- Allow to dry completely (3-7 days)
Minuten Pin Advantages
- Allows direct pinning of very small insects
- Specimen can be viewed from all angles
- Wings can be spread on micro-specimens
- Preferred for scientific study of tiny insects
- More natural appearance than point mounting
Minuten Pin Challenges
- Requires microscope and excellent manual dexterity
- Pins are extremely delicate and bend easily
- Time-consuming and technically demanding
- Not suitable for beginners
- Specimens very fragile once mounted
Method 3: Double Mounting
A variation combining point mounting with staging for better visibility.
Technique
- Small insect glued to a point
- Point attached to a small platform or second point
- Platform pinned with standard pin
- Elevates tiny specimen for easier viewing
- Useful for insects 3-5mm
Method 4: Slide Mounting (For Microscopic Insects)
For insects under 2mm, slide mounting is often the only option.
When to Use Slide Mounting
- Aphids, scale insects, thrips
- Parasitic wasps under 2mm
- Fleas and lice
- Any insect requiring microscopic examination
Basic Process
- Specimen preserved in alcohol
- Cleared in potassium hydroxide (KOH) to make transparent
- Mounted in Canada balsam or similar medium on glass slide
- Covered with coverslip
- Examined under compound microscope
- Permanent preparation for scientific study
Slide Mounting Considerations
- Requires specialized chemicals and equipment
- Not suitable for display purposes
- Essential for taxonomic work on micro-insects
- Specimens cannot be removed once mounted
- Standard method for certain insect groups
Choosing the Right Method
Decision Guide by Size
-
10mm+: Standard direct pinning
-
7-10mm: Direct pinning or point mounting (your choice)
-
5-7mm: Point mounting recommended
-
3-5mm: Point mounting or minuten pins
-
2-3mm: Minuten pins or slide mounting
-
Under 2mm: Slide mounting required
Decision Guide by Purpose
-
Display collections: Point mounting (easier, more forgiving)
-
Scientific study: Minuten pins or slide mounting (allows detailed examination)
-
Beginner collections: Point mounting (easier to learn)
-
Professional collections: Method appropriate to insect size and type
Essential Equipment for Small Insect Preparation
Optical Equipment
-
Magnifying glass: 5-10x for point mounting
-
Dissecting microscope: 10-40x for minuten pins and fine work
-
Good lighting: LED ring light or fiber optic illuminator
Precision Tools
-
Fine forceps: Multiple types with different tip shapes
-
Micro-forceps: Extra-fine tips for tiny specimens
-
Point punch: Creates uniform triangular points
-
Pinning block: Ensures consistent heights
-
Fine brushes: Size 000 or 0000 for positioning
Materials
-
Card stock: For cutting points
-
Archival glue: Water-soluble PVA preferred
-
Minuten pins: Various sizes
-
Cork or pith: For minuten pin blocks
-
Standard pins: Sizes 2 and 3
Common Mistakes and Solutions
Too Much Glue
Problem: Glue obscures specimen features, legs stuck in adhesive
Solution: Use minimal glue—just a tiny drop. Apply with pin tip for control.
Specimen Crooked on Point
Problem: Insect not level or facing wrong direction
Solution: Adjust while glue is wet. Use water-soluble glue to allow repositioning.
Bent Minuten Pins
Problem: Ultra-fine pins bend during insertion
Solution: Work slowly, support specimen from below, use fresh sharp pins.
Damaged Specimens
Problem: Legs or antennae broken during handling
Solution: Use finer forceps, work under magnification, ensure specimens properly relaxed.
Inconsistent Point Sizes
Problem: Hand-cut points vary in size and shape
Solution: Invest in a point punch for uniform results.
Tips for Success
Practice First
- Start with common, abundant small insects
- Practice on larger specimens before attempting micro-insects
- Expect mistakes—skill develops with experience
- Keep practice specimens to track improvement
Work Environment
- Good lighting is essential
- Stable work surface prevents vibration
- Comfortable seating for extended work sessions
- Organize tools within easy reach
- Work when fresh and alert—fatigue causes mistakes
Specimen Handling
- Always use forceps, never fingers
- Support delicate parts during manipulation
- Work slowly and deliberately
- Take breaks to avoid eye strain
- Keep specimens moist during preparation
Professional Preparation Services
Preparing very small insects requires specialized equipment, considerable skill, and significant time investment. The learning curve is steep, and mistakes can destroy valuable specimens. Many collectors prefer professionally prepared small insects that offer:
- Expert technique ensuring no damage
- Proper mounting method for each species
- Consistent, professional appearance
- Appropriate labeling and documentation
- Immediate usability for display or study
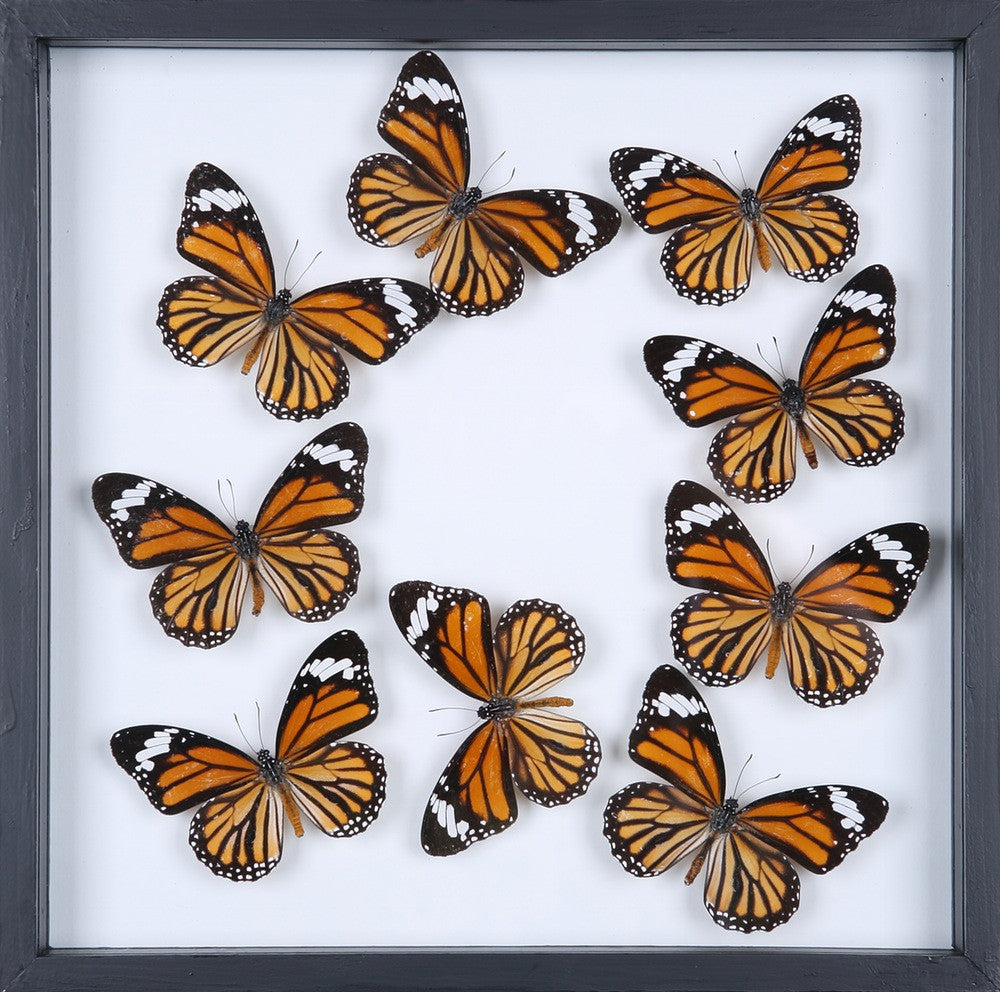
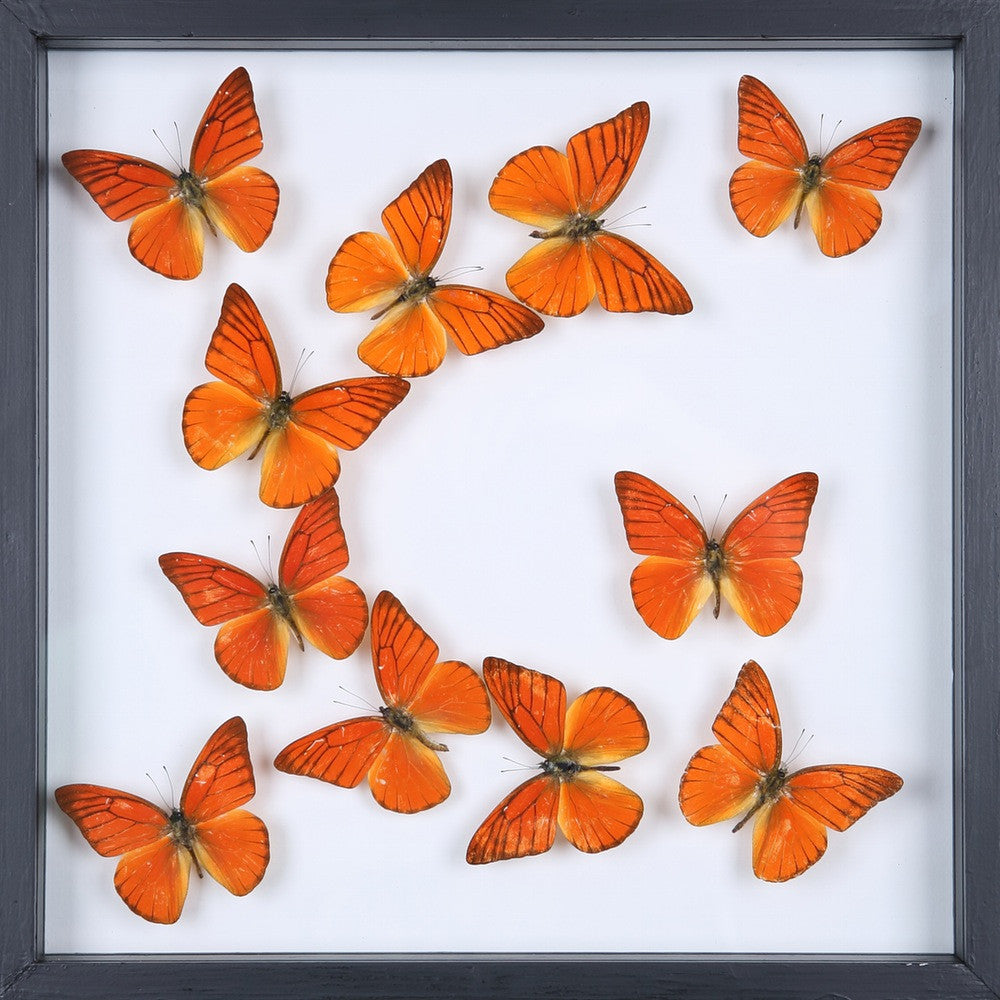
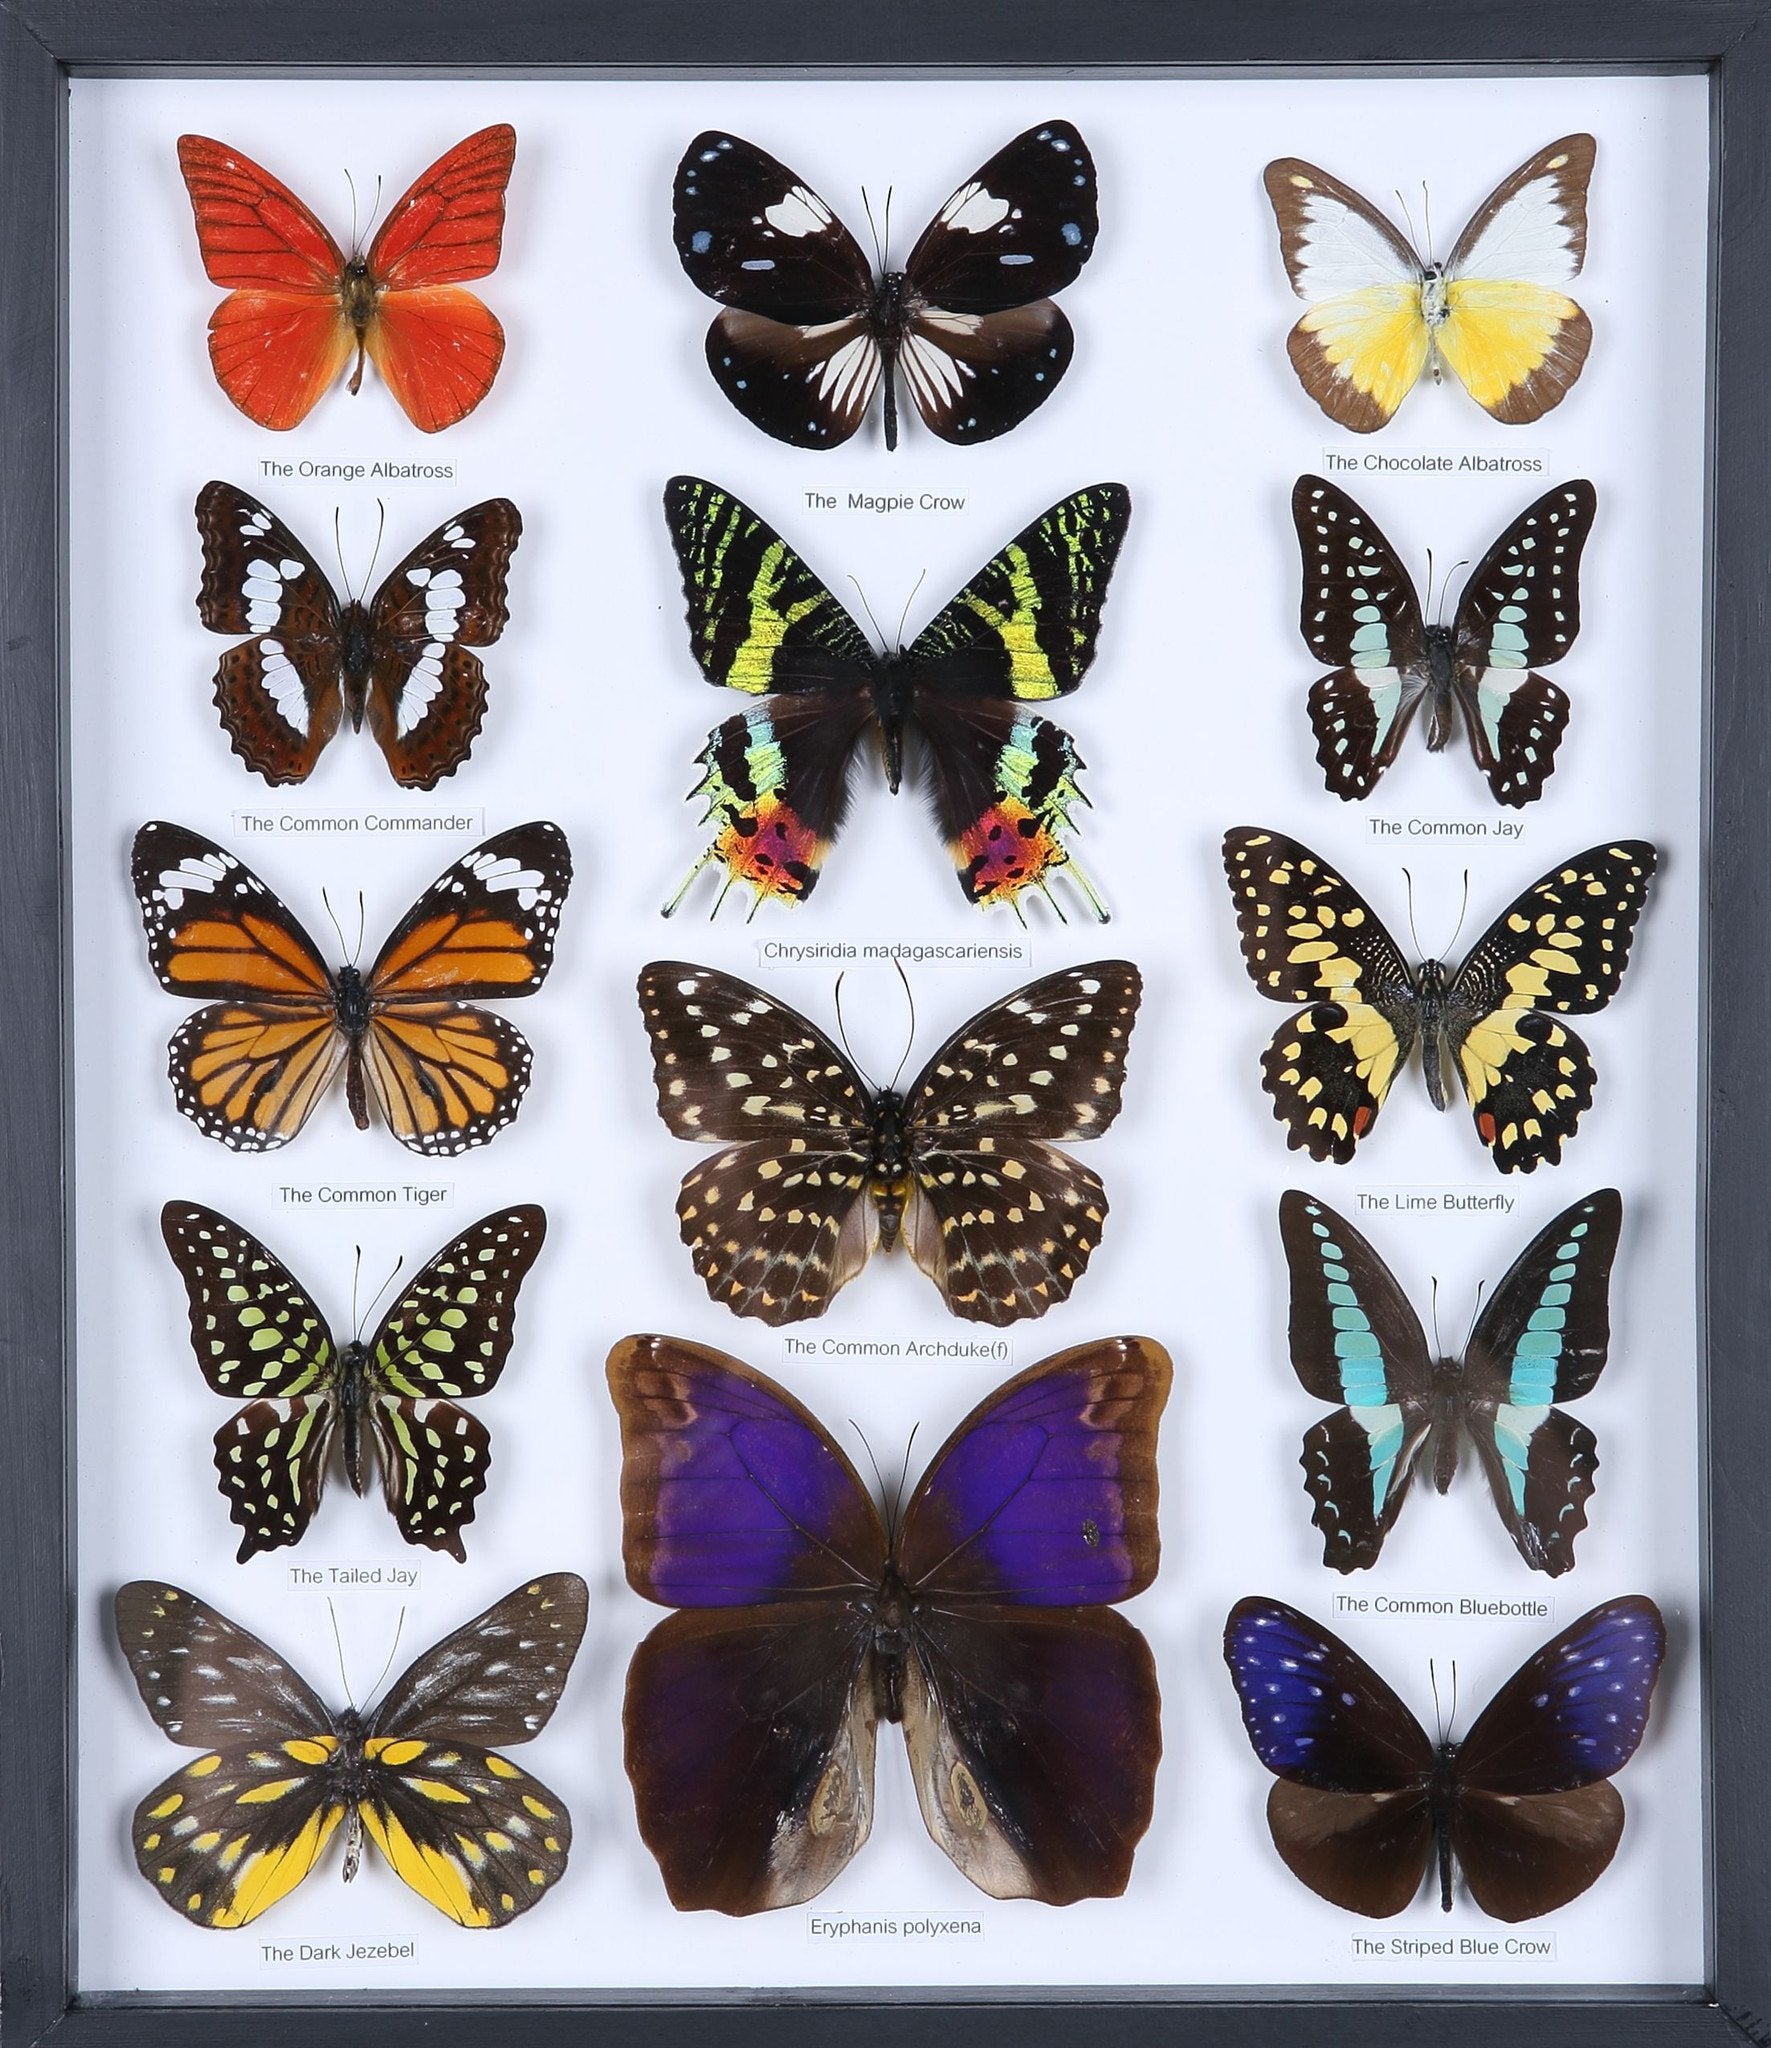
Expertly Prepared Small Specimens
Our collection includes professionally prepared insects of all sizes, including tiny specimens expertly point-mounted or pinned using appropriate techniques. Each small insect is carefully prepared by skilled entomologists using museum-standard methods, ensuring perfect results without the technical challenges of micro-preparation.
Explore Our Professional Collection