Rehydrating (or "relaxing") and spreading butterflies transforms dried, folded specimens into stunning display pieces with symmetrically positioned wings. This essential technique allows you to work with papered butterflies, field-collected specimens, or old dried butterflies that need repositioning. With patience and proper technique, you can create museum-quality displays that showcase the full beauty of butterfly wing patterns and colors.
When You Need to Rehydrate Butterflies
Common Scenarios
Papered specimens: Butterflies stored flat in glassine envelopes
Field-collected butterflies: Dried for transport and storage
Old specimens: Previously pinned butterflies needing repositioning
Purchased dried specimens: Unmounted butterflies from suppliers
Damaged specimens: Requiring repair and re-spreading
Why Rehydration Is Necessary
Dried butterflies become stiff and brittle
Wings will break if you try to spread them dry
Legs and antennae snap off with minimal pressure
Rehydration makes specimens pliable and workable
Allows positioning without damage
Essential Materials
For Rehydration (Relaxing)
Airtight container (plastic storage box with tight lid)
Clean sand or paper towels
Water
White vinegar or phenol (mold inhibitor)
Screen or platform to elevate specimens
Glassine envelopes (if specimens aren't already in them)
For Spreading
Spreading board (appropriate groove width for butterfly size)
Insect pins (size 2 for most butterflies)
Tracing paper or glassine strips
Fine forceps
Additional pins for holding paper strips
Pinning block (for consistent height)
Optional but Helpful
Magnifying glass or lamp
Soft brush (for positioning antennae)
Tweezers with fine tips
Good lighting
Part 1: Rehydrating (Relaxing) Butterflies
Step 1: Build Your Relaxing Chamber
Container Setup
Choose an airtight plastic container (shoebox size works well)
Must have a tight-fitting lid to maintain humidity
Larger containers can process multiple specimens
Moisture Source
Sand method (preferred): Add 1-2 inches of clean sand to bottom, saturate with water
Paper towel method: Layer damp (not dripping) paper towels in bottom
Sand maintains more consistent humidity over time
Ensure no standing water pools in container
Add Mold Prevention
Add 1-2 tablespoons white vinegar to the water/sand
OR add a few drops of phenol or carbolic acid
This prevents mold growth during the 24-72 hour process
Essential step—don't skip it
Create Platform
Place a screen, mesh, or perforated platform above moisture source
Specimens should not touch water directly
Platform allows humidity to reach specimens from below
Crumpled paper towels can work as simple platform
Step 2: Prepare Specimens for Relaxing
If Butterflies Are Papered
Leave butterflies in their glassine envelopes
Envelopes protect delicate wings during relaxing
Humidity penetrates the paper
Prevents wings from sticking together
If Butterflies Are Loose
Place each butterfly in a glassine envelope before relaxing
Fold wings vertically over the back (natural resting position)
Write collection data on envelope exterior
This protects specimens during the process
Step 3: Relax the Specimens
Placement
Place enveloped butterflies on the platform
Don't overcrowd—allow air circulation around each
Larger specimens need more space
Keep envelopes flat, not folded or bent
Seal and Wait
Close container tightly to maintain humidity
Place in warm location (20-25°C / 68-77°F)
Warmth speeds the relaxing process
Keep out of direct sunlight
Relaxing Time by Size
Small butterflies (1-2 inches): 24-36 hours
Medium butterflies (2-3 inches): 36-48 hours
Large butterflies (3-4 inches): 48-72 hours
Very large moths (4+ inches): 72-96 hours
Very old specimens: May need 3-7 days
Step 4: Test for Readiness
How to Check
After minimum time, carefully remove one specimen
Gently try to move a wing base with forceps
Should flex smoothly without resistance or cracking
Legs should bend without breaking
Body should have slight give when gently pressed
If Still Stiff
Return to chamber for another 12-24 hours
Check daily to prevent over-relaxing
Better to relax longer than to rush and break wings
If Too Soft
Remove from chamber immediately
Allow to air dry for 1-2 hours
Should be pliable but not limp
Over-relaxed specimens are prone to mold
Critical Timing
Spread immediately after relaxing
Specimens will re-stiffen within hours if not pinned
Remove specimens from chamber one at a time
If you can't spread immediately, return to chamber
Don't let relaxed specimens sit out—they'll dry unevenly
Part 2: Spreading Butterflies
Step 1: Choose the Right Spreading Board
Groove Width
Board groove should match butterfly body width
Body sits in groove, wings rest on angled boards
Too narrow: body won't fit properly
Too wide: wings won't be supported
Common Sizes
Narrow (6-8mm): Small butterflies, skippers
Medium (10-12mm): Most common butterflies
Wide (15-20mm): Large butterflies and moths
Adjustable boards accommodate multiple sizes
Step 2: Pin the Butterfly
Remove from Envelope
Carefully remove relaxed butterfly from envelope
Handle only by the body, never touch wings
Use fine forceps for control
Work gently—wings are still delicate
Insert the Pin
Insert pin vertically through center of thorax
Pin should go exactly between the wing bases
Push through until pin emerges centered on underside
Use size 2 pin for most butterflies (size 1 for small, size 3 for large)
Position on Board
Insert pin into the groove of the spreading board
Body should sit in the groove with wings resting on angled surfaces
Butterfly should be positioned 1/3 down from pin head
Use pinning block to ensure correct height
Body should be straight, not curved or twisted
Step 3: Spread the Wings
This is the most critical and delicate step.
Starting Position
Wings will be folded or partially closed
You'll move them into display position
Work on one side at a time for symmetry
Technique for Moving Wings
Never touch wing surfaces with fingers or forceps
Use an insect pin as a hook
Gently insert pin tip under the thick vein at the wing base
Carefully slide the wing forward into position
Work slowly and patiently
Proper Wing Position (Standard Museum Style)
Hindwing first: Move hindwing forward until its rear margin is perpendicular to the body
Forewing second: Move forewing forward until its rear margin forms a 90-degree angle with the body
Result: Rear edge of forewing should be straight across, perpendicular to body
Front edge of hindwing should just touch rear edge of forewing
Repeat on Other Side
Spread the opposite side to match exactly
Symmetry is critical for professional appearance
Compare both sides frequently
Make small adjustments until perfectly matched
Step 4: Secure the Wings
Paper Strip Method
Cut strips of tracing paper or glassine (about 1/2 inch wide)
Place strip over the wings to hold them in position
Pin the paper strip to the board (NOT through the wings!)
Use multiple pins along the strip for even pressure
Paper should hold wings flat but not crush them
Coverage
Cover entire wing surface with paper strips
Overlap strips if necessary
Ensure wings cannot move during drying
Check that wings are flat against board surface
Step 5: Position Antennae and Body
Antennae
Position antennae forward and parallel to each other
Should point straight ahead, not crossed or bent
Use fine pins on either side to hold in place
Or use a small paper strip over antennae
Abdomen
Should be straight and centered
If curved, gently straighten while specimen is pliable
May need support pin underneath during drying
Legs
Tuck legs against body
Should not be visible from above in final display
Use pins to hold in natural position
Step 6: Drying
Drying Environment
Warm, dry location (20-25°C / 68-77°F)
Good air circulation but not direct drafts
Away from direct sunlight (prevents fading)
Protected from dust and pests
Low humidity area
Drying Time
Small butterflies: 7-10 days
Medium butterflies: 10-14 days
Large butterflies: 14-21 days
Very large moths: 21-28 days
Testing for Dryness
Gently touch the abdomen—should be completely rigid
Carefully lift edge of paper—wings should not flex
If any flexibility remains, continue drying
Removing too early causes wings to droop
Step 7: Removing from Board
Careful Removal
Once completely dry, remove pins holding paper strips
Gently peel paper away from wings
Work slowly—dried wings can still break
If paper sticks, don't force it—may need more drying time
Remove Support Pins
Remove pins from around antennae
Remove any support pins from under abdomen
Specimen is now ready for display or storage
Common Problems and Solutions
Problem: Wings Break During Spreading
Cause: Specimen not relaxed enough
Solution: Return to relaxing chamber for 12-24 more hours
Problem: Mold Grows on Specimen
Cause: Insufficient mold inhibitor, over-relaxing, or too humid
Solution: Add more vinegar to chamber, check specimens daily, gently brush off mold and re-dry
Problem: Wings Not Symmetrical
Cause: Uneven spreading or positioning
Solution: Adjust before paper is pinned down, compare both sides frequently
Problem: Wings Droop After Removal
Cause: Insufficient drying time
Solution: Return to spreading board and dry longer; prevention is key
Problem: Antennae Break Off
Cause: Rough handling or specimen too dry
Solution: Can be reattached with tiny amount of archival glue
Problem: Specimen Re-Stiffens Before Spreading
Cause: Waited too long after removing from chamber
Solution: Return to relaxing chamber and start over
Tips for Perfect Results
Best Practices
Work in batches: Relax multiple specimens, spread one at a time
Check symmetry constantly: Step back and view from above frequently
Use good lighting: Essential for seeing wing position clearly
Be patient: Rushing causes mistakes and damage
Practice on common species: Before attempting rare or valuable specimens
Keep workspace organized: Have all tools ready before starting
What Not to Do
Don't touch wings with fingers—oils damage scales permanently
Don't force stiff specimens—they will break
Don't skip mold inhibitor in relaxing chamber
Don't remove from spreading board too early
Don't work in humid conditions—slows drying
Don't leave relaxed specimens sitting out
Professional Alternative
Rehydrating and spreading butterflies is a time-intensive process requiring patience, proper equipment, and considerable skill. The learning curve involves inevitable mistakes, and the process takes weeks from start to finish. Many collectors prefer professionally spread specimens that offer:
Perfect symmetry and wing positioning
No risk of damage during relaxing or spreading
Museum-quality results guaranteed
Immediate display readiness
Expert handling of delicate specimens
Ethical sourcing documentation
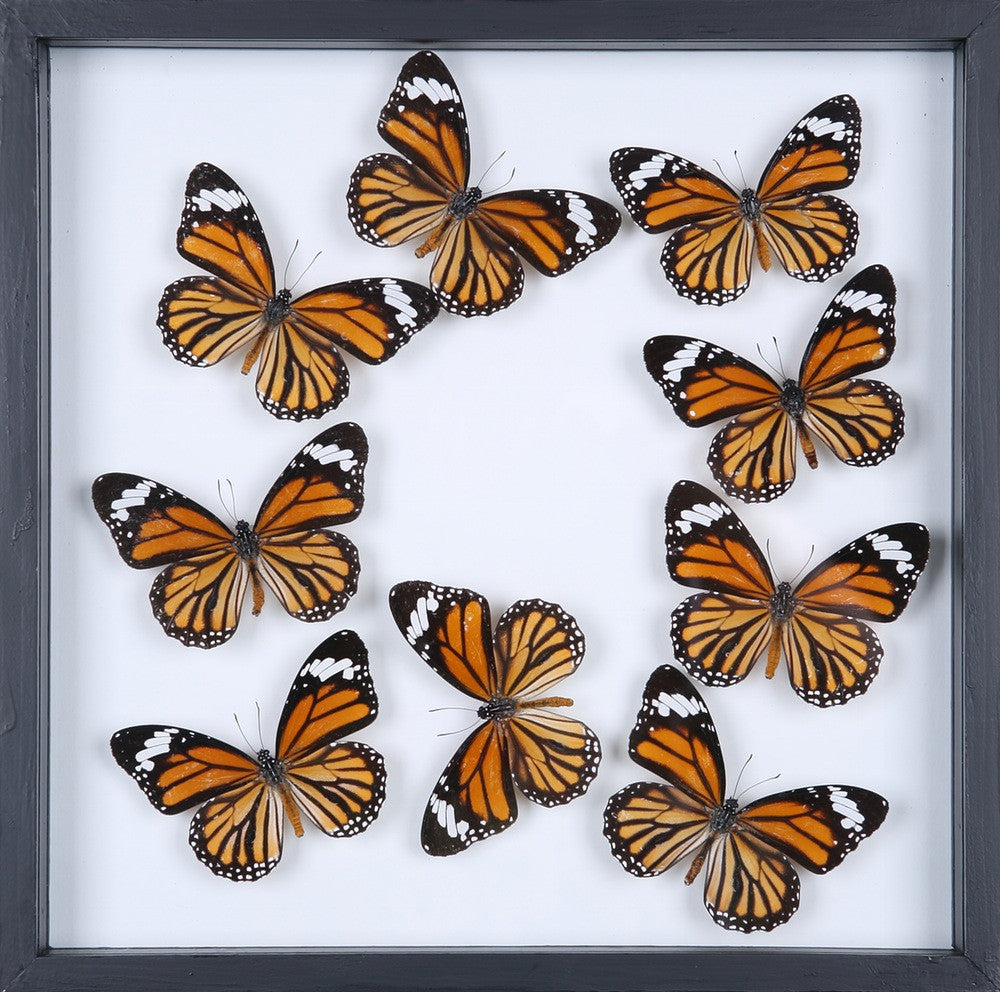
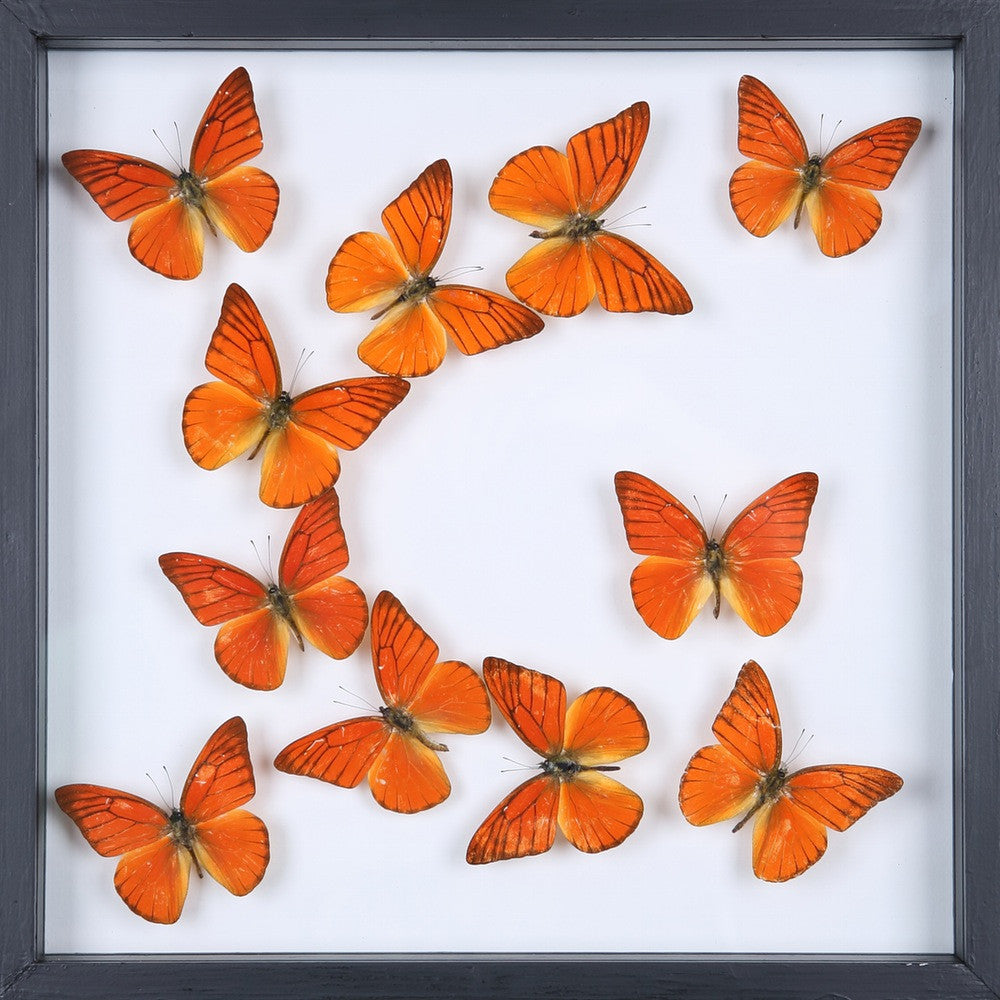
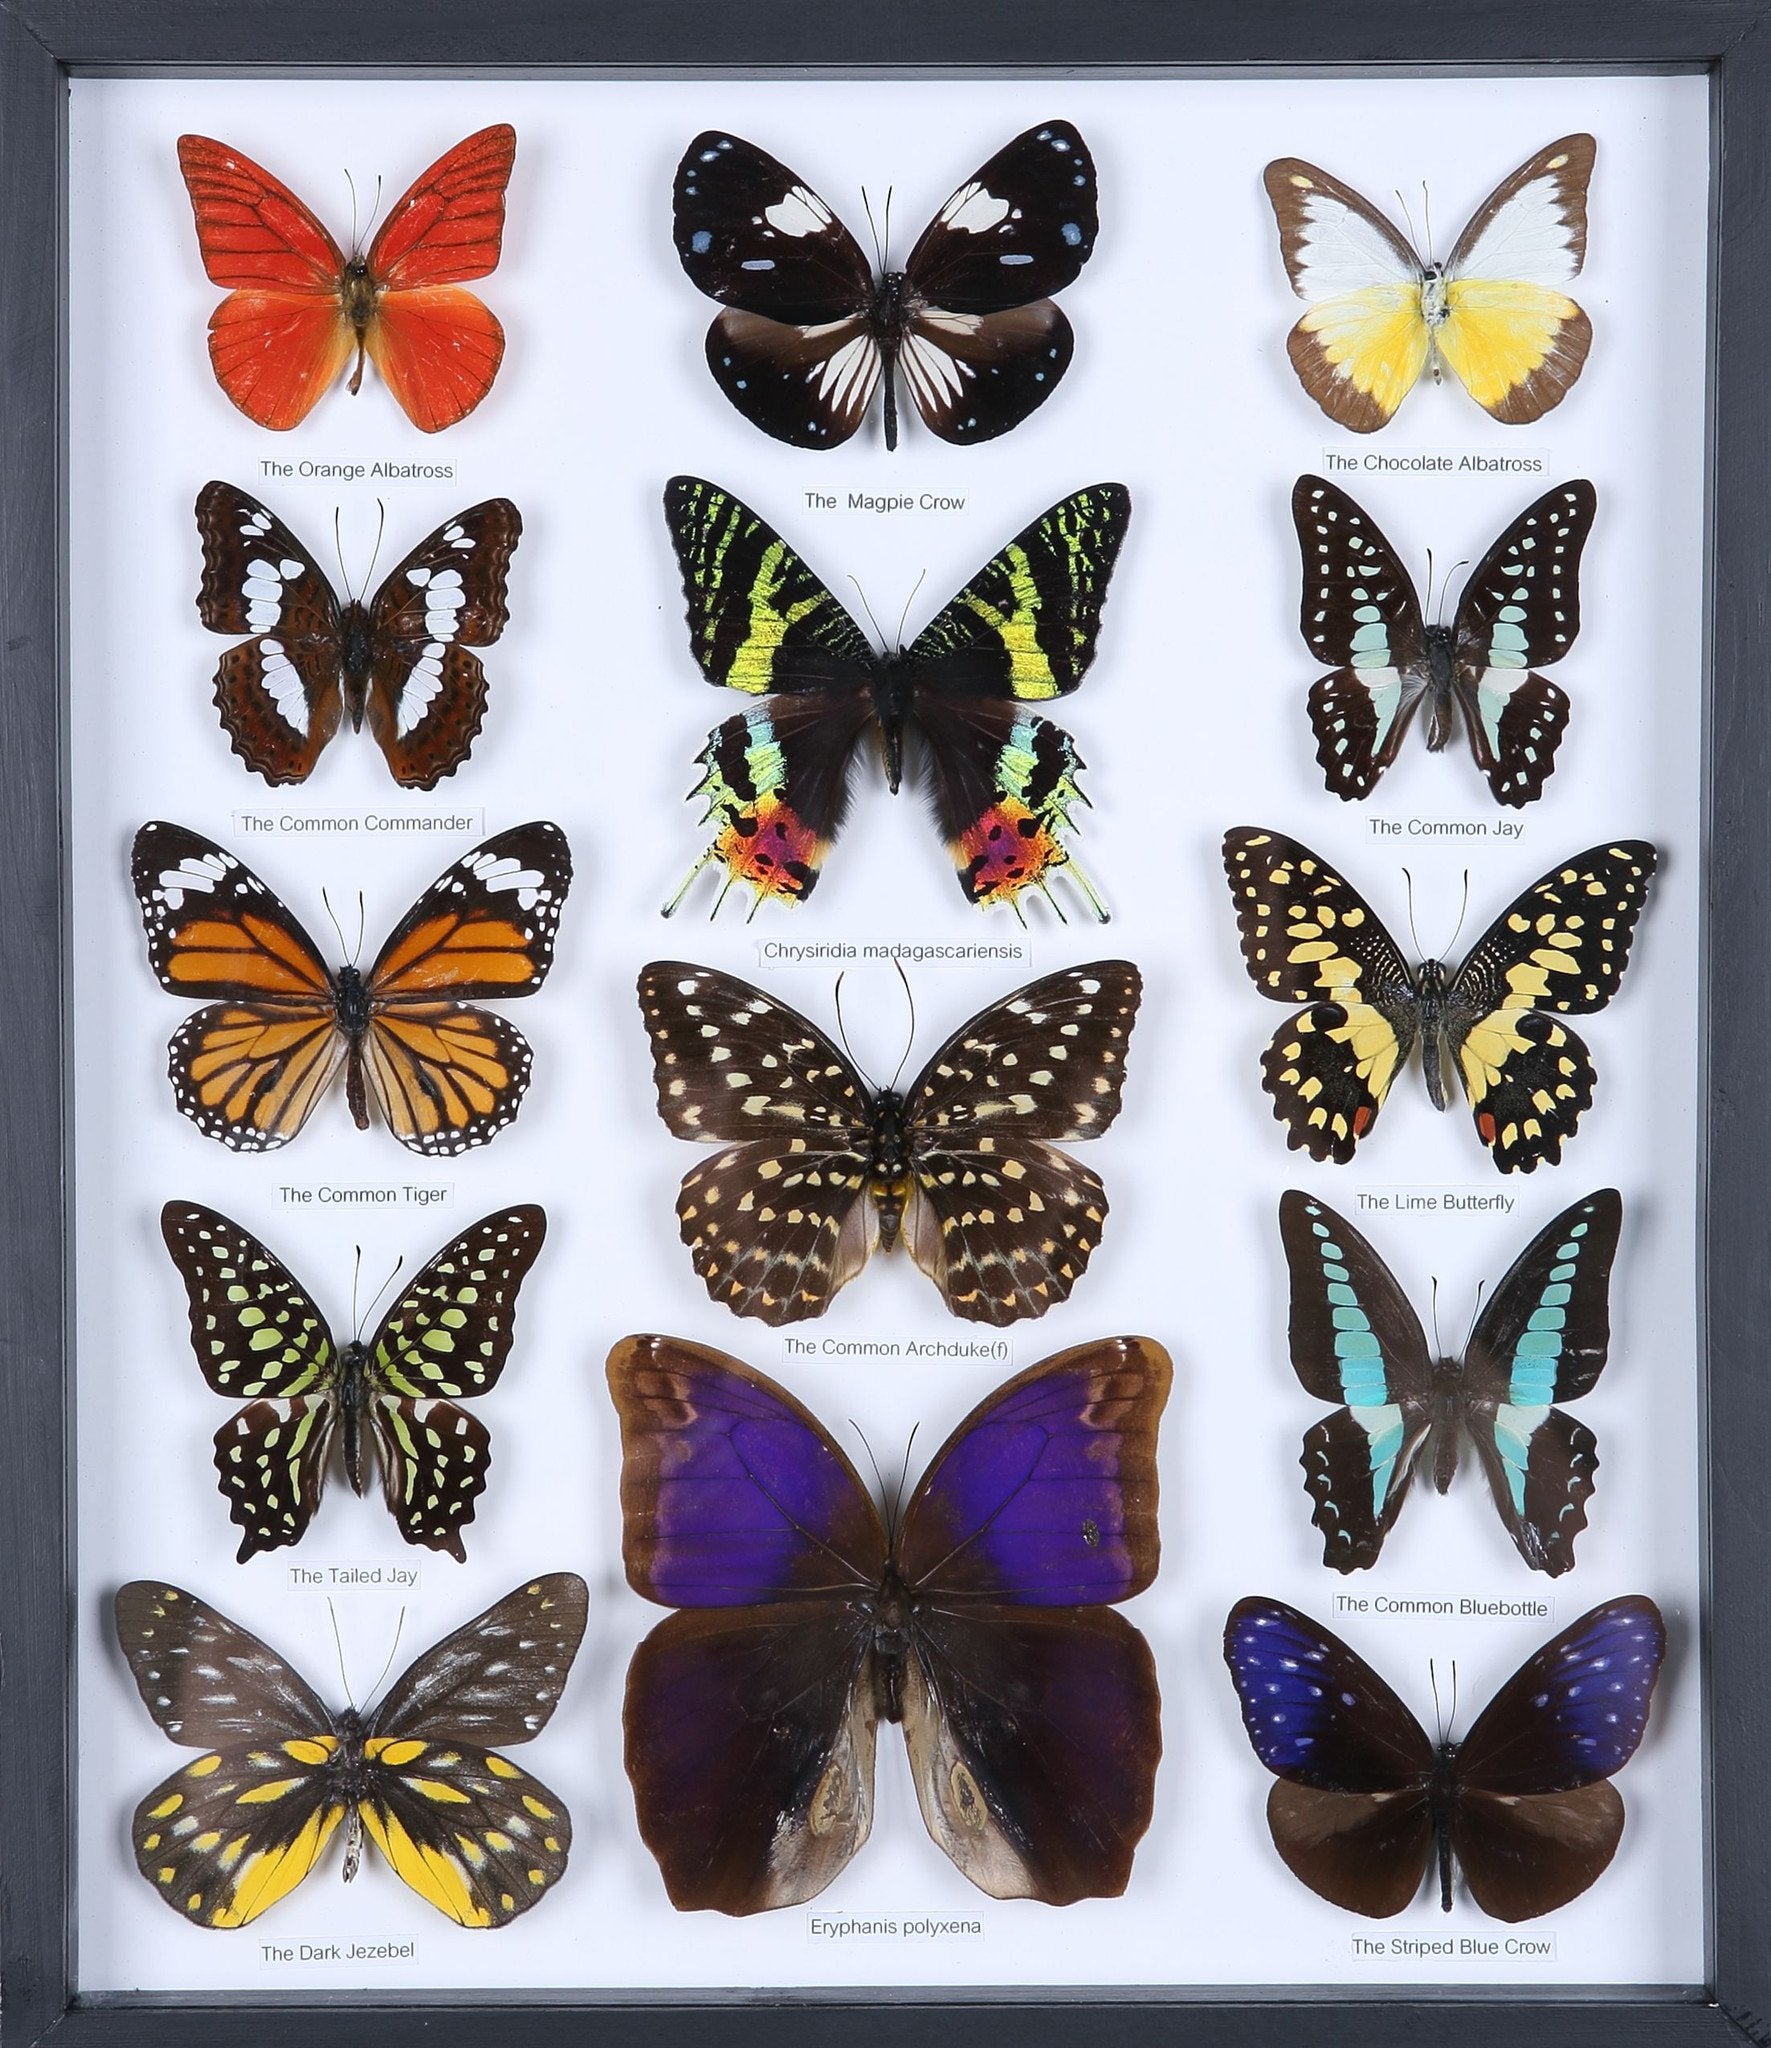
Museum-Quality Spread Butterflies
Our collection features professionally spread butterflies prepared by expert entomologists using the techniques described above. Each specimen is perfectly symmetrical, expertly positioned, and ready for immediate display—eliminating the weeks of work and technical challenges of the spreading process.