Preserving insects for pinning is a precise process that requires proper technique to create museum-quality specimens. Whether you're building a scientific collection or creating natural history displays, understanding the complete preservation workflow—from collection to final mounting—ensures your specimens remain beautiful and intact for generations.
The Complete Preservation Process
Step 1: Humane Collection and Killing
Killing Jar Method (Most Common)
- Use a wide-mouth jar with tight-sealing lid
- Add killing agent: ethyl acetate (nail polish remover) or plaster of Paris saturated with ethyl acetate
- Place insect in jar and seal immediately
- Leave for 15-30 minutes depending on size
- Ensures quick, humane death with minimal damage
Freezing Method
- Place insect in sealed container
- Freeze at -20°C for 24-48 hours
- Slower but chemical-free option
- Good for butterflies and moths
Important: Never collect protected or endangered species. Always verify local regulations and collect ethically.
Step 2: Initial Handling
For Immediate Pinning (Fresh Specimens)
- Pin within 24 hours of death while body is still pliable
- Handle by body only, never touch wings or delicate parts
- Use fine forceps for positioning
- Work in clean, dust-free environment
For Temporary Storage
-
Butterflies/moths: Fold wings vertically and store in glassine envelopes
-
Beetles: Store in small boxes with tissue paper
-
Other insects: Place in 70-95% ethanol for later pinning
- Label immediately with collection data (date, location, collector)
Step 3: Relaxing (For Dried Specimens)
If your insect has dried and become brittle, it must be relaxed before pinning:
Relaxing Chamber Setup
- Use airtight container (plastic box with tight lid)
- Add layer of wet sand or damp paper towels to bottom
- Place screen or platform above water source
- Add a few drops of phenol or vinegar to prevent mold
- Place specimens on platform (not touching water)
- Seal and leave for 24-72 hours
Testing for Readiness
- Gently move a leg or antenna
- Should bend easily without breaking
- If still stiff, return to chamber for more time
- Over-relaxing can cause mold—check daily
Step 4: Pinning Technique
Choosing the Right Pin
-
Size 0: Small, delicate insects
-
Size 1: Medium butterflies, small beetles
-
Size 2: Most butterflies and moths (most common)
-
Size 3: Large beetles, cicadas, large moths
- Use stainless steel pins to prevent rust
Pin Placement by Insect Type
-
Butterflies/moths: Vertically through center of thorax
-
Beetles: Through right elytron (wing cover)
-
True bugs: Through scutellum (triangular plate)
-
Flies/bees/wasps: Through center of thorax
-
Grasshoppers: Through right side of thorax
-
Dragonflies: Through thorax at slight angle
Proper Pin Height
- Use pinning block for consistency
- Insect should be positioned 1/3 down from pin head
- Leaves room for labels below specimen
- Ensures uniform appearance in collections
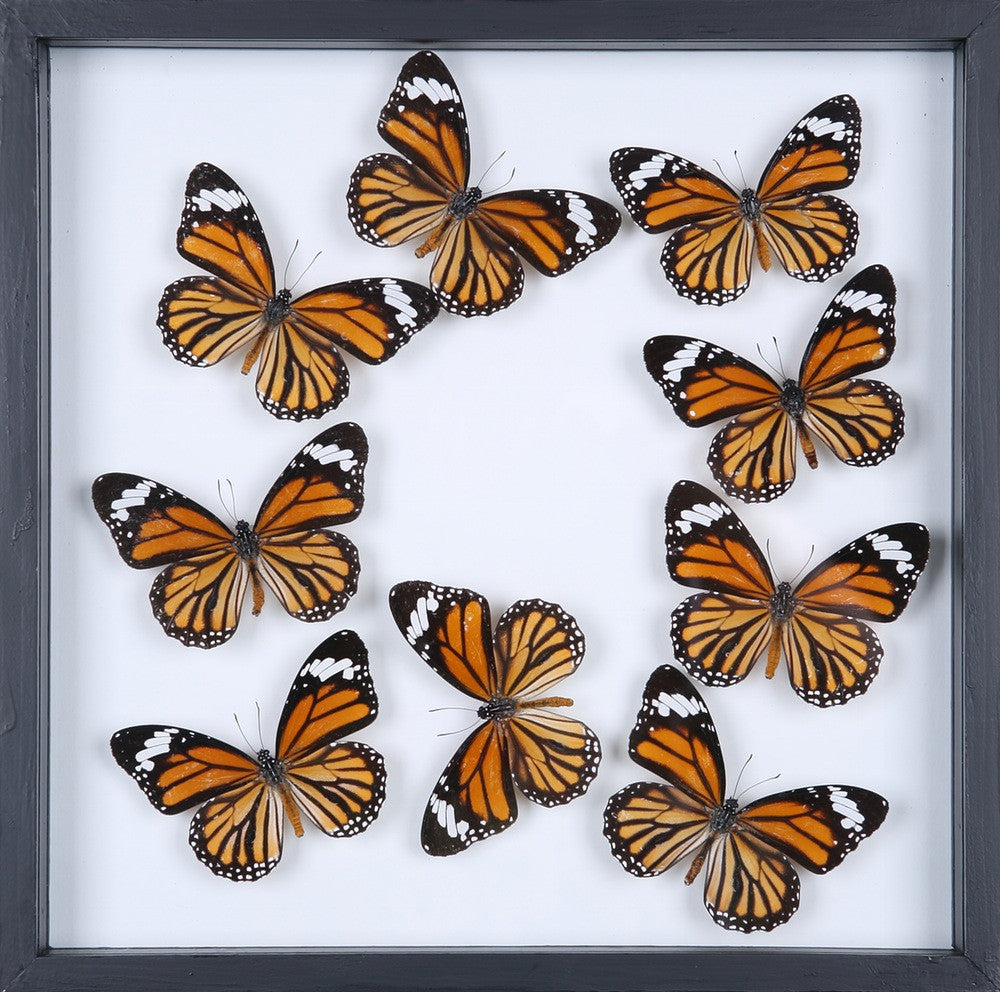
Step 5: Spreading (For Butterflies and Moths)
Spreading Board Setup
- Choose board with appropriate groove width for specimen size
- Insert pin through groove so body sits in channel
- Wings rest on angled boards on either side
Wing Positioning
- Use insect pin to gently hook wing base
- Slide forward until hindwing rear margin is perpendicular to body
- Position forewing so rear margin is at 90° angle to body
- Repeat on opposite side for symmetry
- Cover wings with strips of glassine or tracing paper
- Pin paper strips to board (not through wings!)
Antenna and Leg Positioning
- Position antennae forward and parallel
- Arrange legs naturally
- Use pins to hold in place during drying
Step 6: Drying
Drying Environment
- Warm, dry location (20-25°C)
- Good air circulation but not direct drafts
- Away from direct sunlight
- Protected from dust and pests
Drying Time
-
Small butterflies: 7-10 days
-
Large butterflies/moths: 10-14 days
-
Beetles (not spread): 3-7 days
-
Large-bodied insects: 2-3 weeks
Testing for Dryness
- Gently touch abdomen—should be completely rigid
- Wings should not flex when paper is removed
- If any flexibility remains, continue drying
- Removing too early causes wings to droop
Step 7: Labeling
Proper data labels are essential for scientific and educational value:
Collection Data Label (Required)
- Location (country, state/province, specific locality)
- Date of collection (day/month/year)
- Collector name
- Habitat type (optional but valuable)
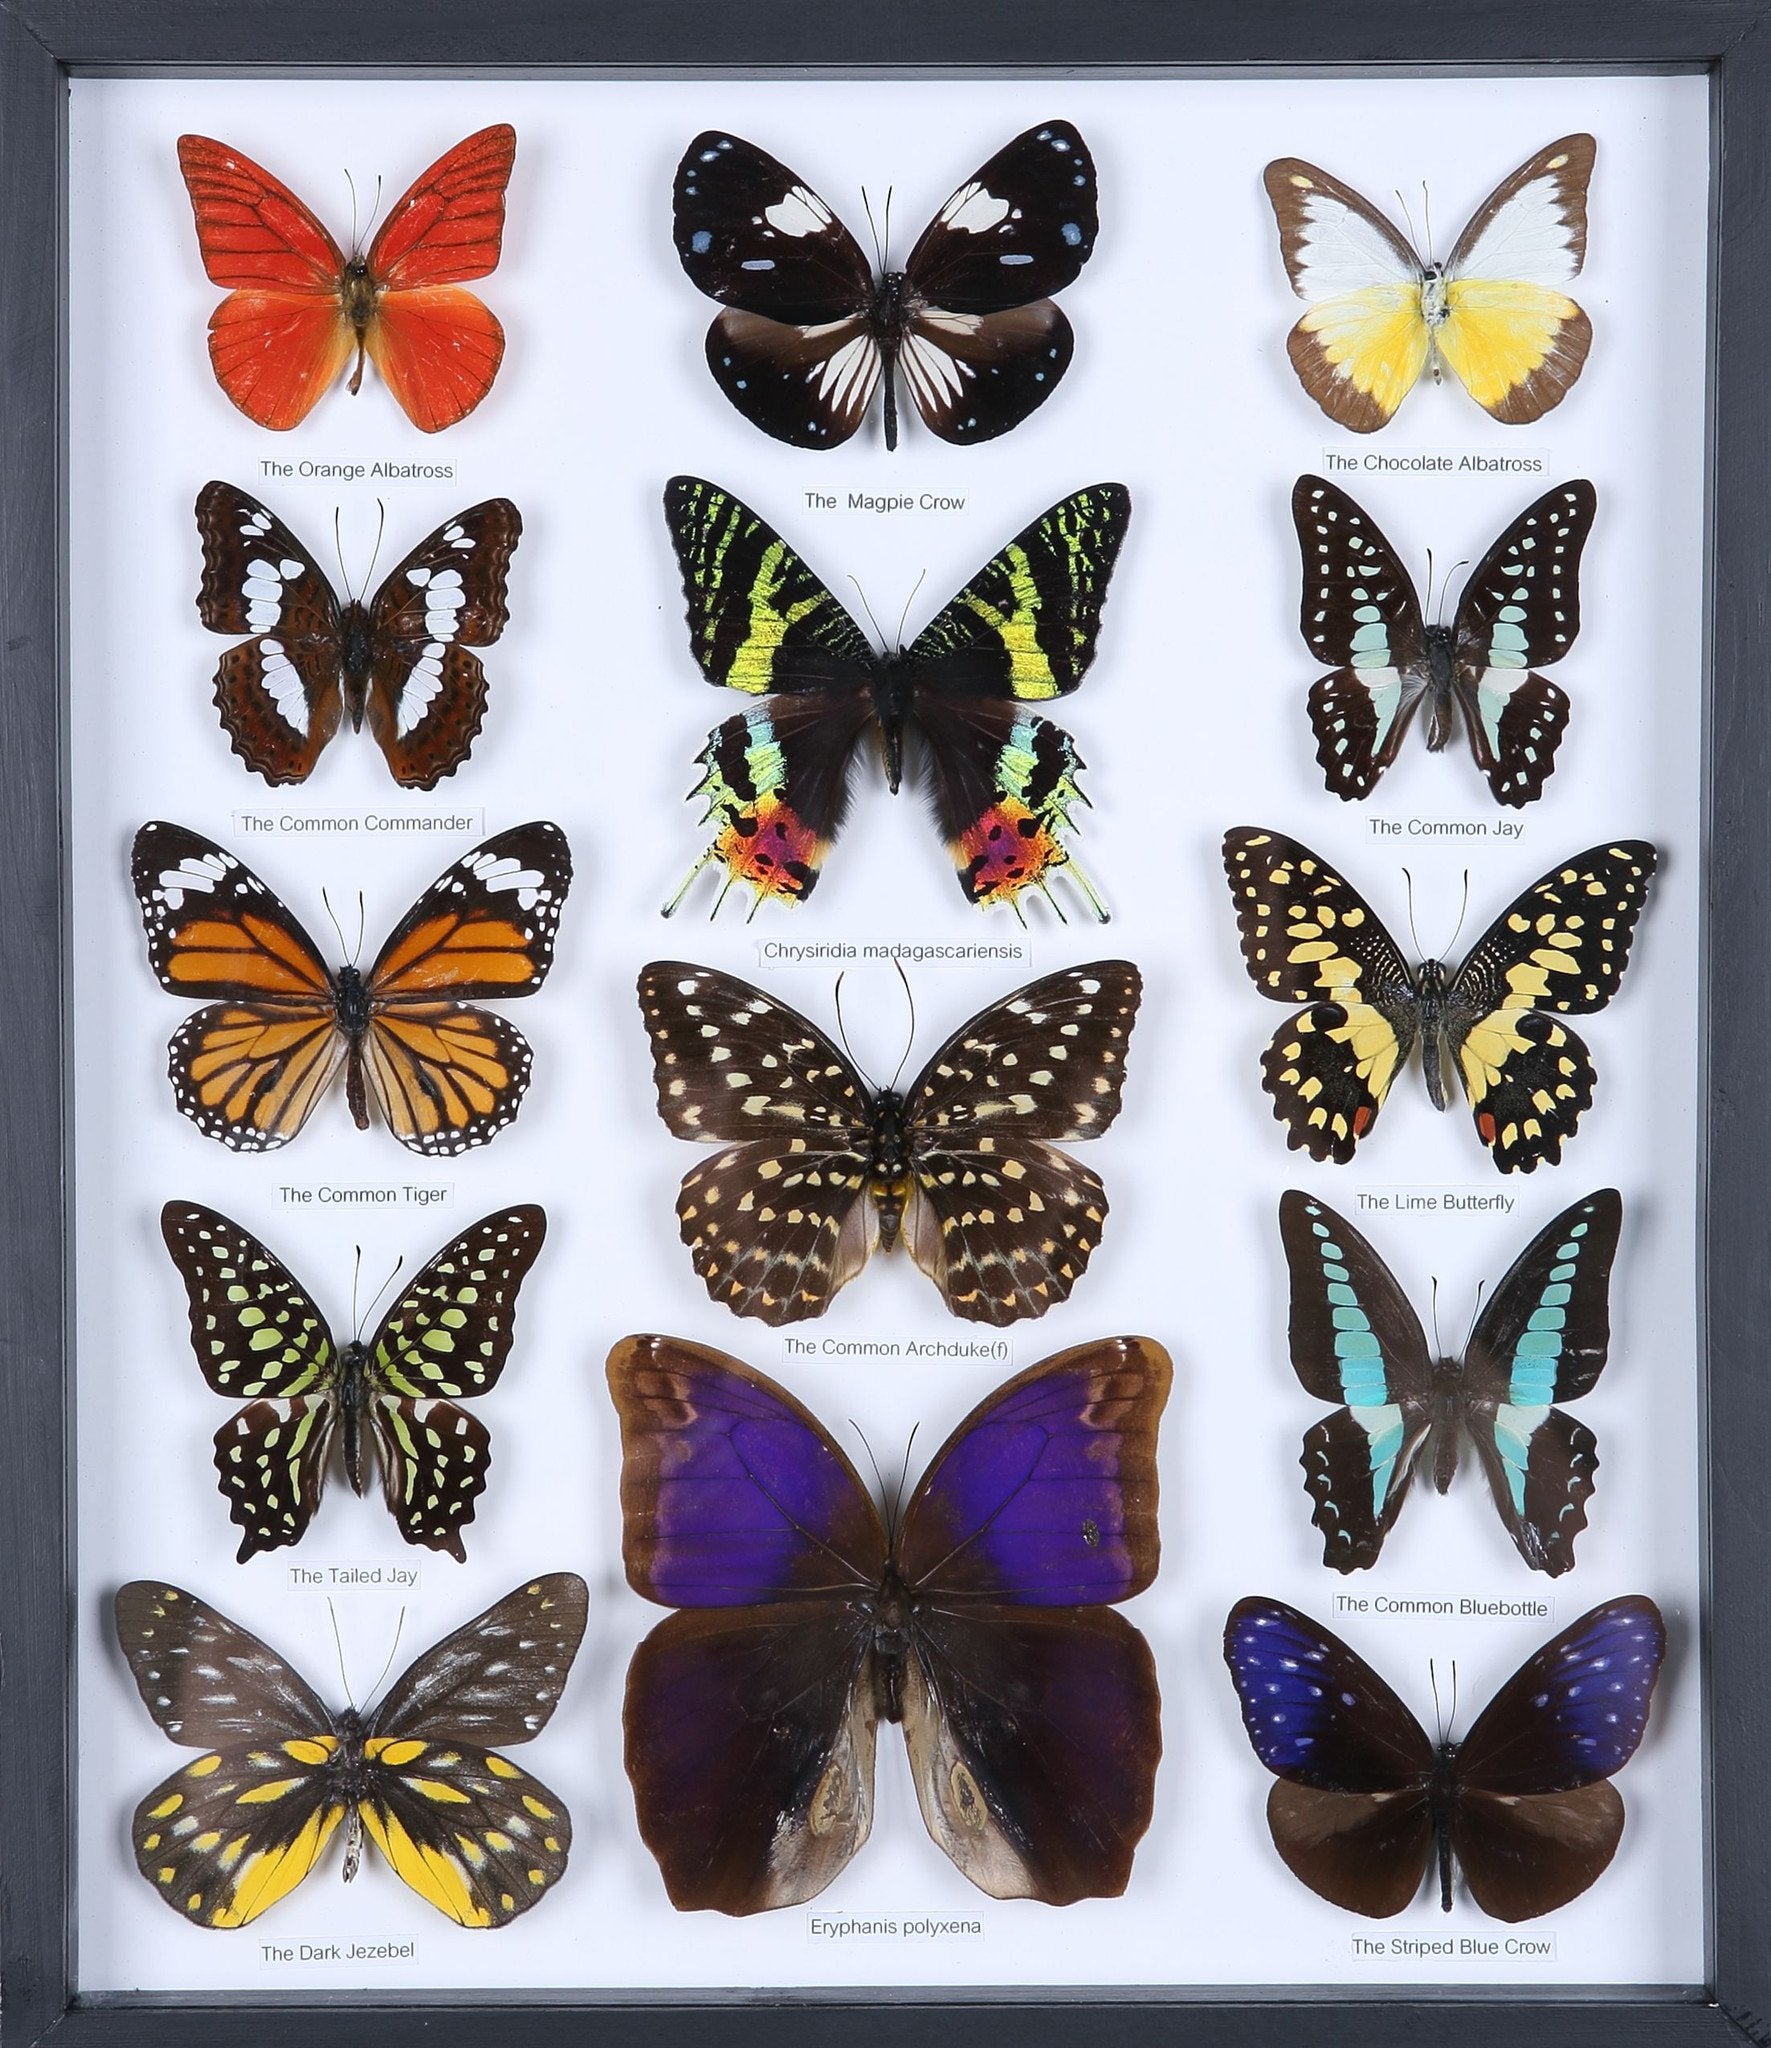
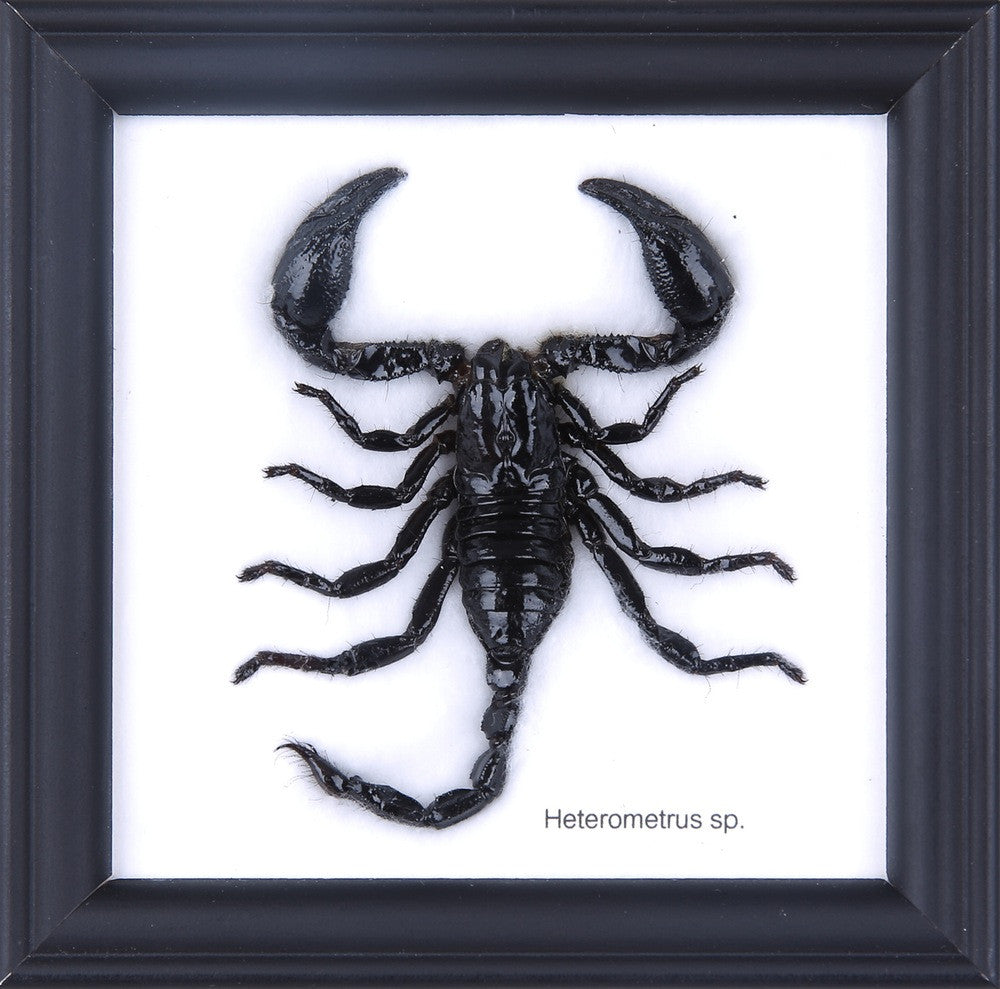
Identification Label
- Scientific name (genus and species)
- Common name (optional)
- Determiner (who identified it) and date
Label Placement
- Pin labels below the specimen on the same pin
- Use small, neat handwriting or printed labels
- Archival paper and permanent ink only
Essential Preservation Supplies
Basic Kit
- Killing jar with ethyl acetate
- Insect pins (assorted sizes)
- Forceps and tweezers
- Pinning block
- Glassine envelopes
- Data labels and archival paper
For Butterflies and Moths
- Spreading boards (multiple sizes)
- Tracing paper or glassine strips
- Relaxing chamber
- Additional pins for holding paper
Storage and Display
- Insect storage boxes (Schmitt boxes)
- Riker mounts or shadow boxes
- Mothballs or cedar for pest prevention
- Silica gel packets for humidity control
Common Preservation Mistakes
-
Touching wings: Oils from fingers damage delicate scales permanently
-
Pinning while too dry: Causes legs and antennae to break
-
Over-relaxing: Leads to mold growth and specimen deterioration
-
Insufficient drying: Wings droop and specimen develops mold
-
Wrong pin size: Damages small specimens or looks disproportionate
-
No data labels: Reduces scientific and educational value to nearly zero
-
Direct sunlight: Causes rapid color fading
-
High humidity storage: Promotes mold and pest infestation
Long-Term Specimen Care
Pest Prevention
- Dermestid beetles and moths can destroy collections
- Use paradichlorobenzene or naphthalene in storage boxes
- Inspect collections regularly for signs of damage
- Freeze infested specimens at -20°C for 72 hours
Environmental Control
- Maintain 40-50% relative humidity
- Avoid temperature fluctuations
- Store in dark or low-light conditions
- Use UV-protective glass for displayed specimens
Ethical Collecting Practices
- Never collect endangered or protected species
- Obtain necessary permits for collecting
- Collect only what you need for study or display
- Avoid collecting in sensitive habitats
- Support conservation through ethical sourcing
- Consider purchasing from sustainable farms instead
Professional Alternative
Insect preservation requires significant skill, time, and equipment investment. Many collectors prefer professionally prepared specimens that offer:
- Expert technique ensuring symmetrical, museum-quality results
- Proper species identification and labeling
- Ethical sourcing from conservation farms
- Ready-to-display convenience
- Guaranteed quality and longevity
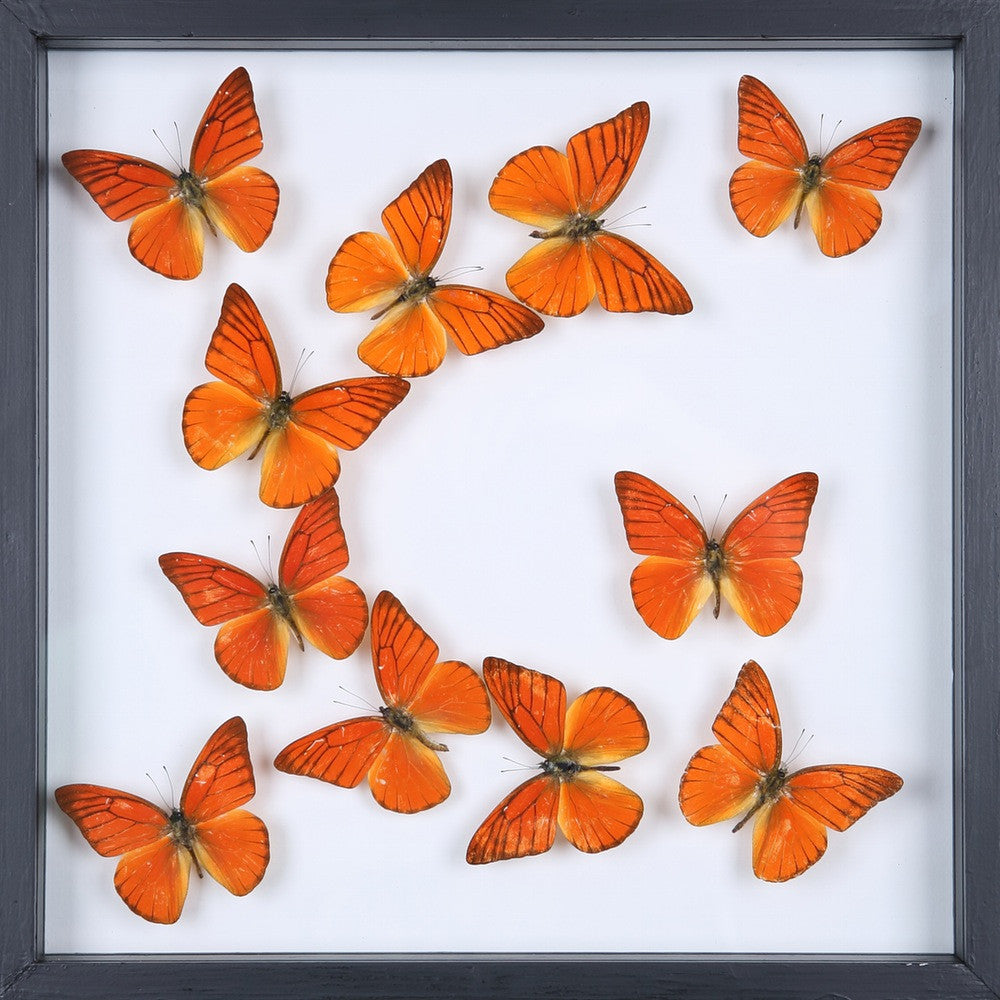
Museum-Quality Prepared Specimens
Our collection features professionally preserved insects prepared by expert entomologists using the techniques described above. Every specimen is ethically sourced, expertly mounted, and ready for display—allowing you to enjoy the beauty of natural history without the complexity of preservation.
Explore Our Preserved Collection