Insect pinning follows standardized rules developed over centuries to ensure specimens are scientifically useful, aesthetically pleasing, and consistently prepared across collections worldwide. These rules cover pin placement, specimen height, pin angle, labeling, and handling techniques—creating a universal language for entomological preparation that allows specimens to be studied, compared, and displayed effectively.
The Universal Rules of Insect Pinning
Rule 1: Pin Placement Varies by Insect Order
The most fundamental rule: where you insert the pin depends on the insect's taxonomic group.
Lepidoptera (Butterflies and Moths)
- Pin vertically through the center of the thorax
- Exactly between the wing bases
- Pin should emerge centered on the underside
- Never pin through the abdomen or head
Coleoptera (Beetles)
- Pin through the right elytron (wing cover)
- About 1/3 from the front of the body
- Slightly right of center to avoid internal organs
- Pin should emerge between middle and hind legs on underside
Hemiptera (True Bugs)
- Pin through the scutellum (triangular plate between wing bases)
- Centered on the scutellum
- Keeps wings and body symmetrical
Hymenoptera (Bees, Wasps, Ants)
- Pin vertically through the center of the thorax
- Between the wing bases (if wings present)
- Similar to Lepidoptera placement
Diptera (Flies)
- Pin through the right side of the thorax
- Slightly right of center
- Between wing bases
Orthoptera (Grasshoppers, Crickets, Mantids)
- Pin through the right side of the pronotum (plate behind head)
- Angled slightly to the right
- Allows legs to be positioned naturally
Odonata (Dragonflies and Damselflies)
- Pin through the thorax at a slight angle
- From upper right to lower left
- Supports the long abdomen
- Some preparators pin horizontally through the thorax
Rule 2: Standardized Pin Height
Specimens must be positioned at a consistent height on the pin for uniform appearance and proper labeling.
Standard Height:
- Specimen positioned 1/3 down from the pin head
- Approximately 15-20mm from the top of the pin
- Use a pinning block to ensure consistency
- Leaves 2/3 of pin below specimen for labels
Why This Matters:
- Allows room for data labels below specimen
- Creates uniform appearance in collections
- Prevents damage when handling by pin
- Standard across museums worldwide
Rule 3: Pin Must Be Vertical (Usually)
General Rule:
- Pin should be perpendicular to the specimen's body
- Inserted straight down, not at an angle
- Specimen should sit level when pin is vertical
- Exceptions: Orthoptera and Odonata may use slight angles
Why Vertical Matters:
- Prevents specimen from sliding down pin
- Ensures stability in storage
- Allows proper viewing from all angles
- Maintains professional appearance
Rule 4: Use the Correct Pin Size
Insect pins come in standardized sizes (000 to 7), with specific sizes for different insects.
Pin Size Chart:
-
Size 000-00: Micro-insects (rarely used; minuten pins preferred)
-
Size 0: Small, delicate insects (small butterflies, tiny beetles)
-
Size 1: Small to medium insects (most small butterflies, medium beetles)
-
Size 2: Medium insects (most butterflies and moths, average beetles) - MOST COMMON
-
Size 3: Large insects (large moths, big beetles, cicadas)
-
Size 4-7: Very large insects (rarely needed; mostly tropical giants)
Selection Guidelines:
- Pin should support specimen without bending
- Should not be so thick it damages the body
- When in doubt, use size 2 (the standard)
- Use stainless steel pins to prevent rust
Rule 5: Never Touch Wings or Delicate Parts
Handling Rules:
- Handle specimens only by the pin or body
- Never touch butterfly or moth wings with fingers
- Oils from skin damage wing scales permanently
- Use fine forceps for positioning legs and antennae
- Support specimen from below when inserting pin
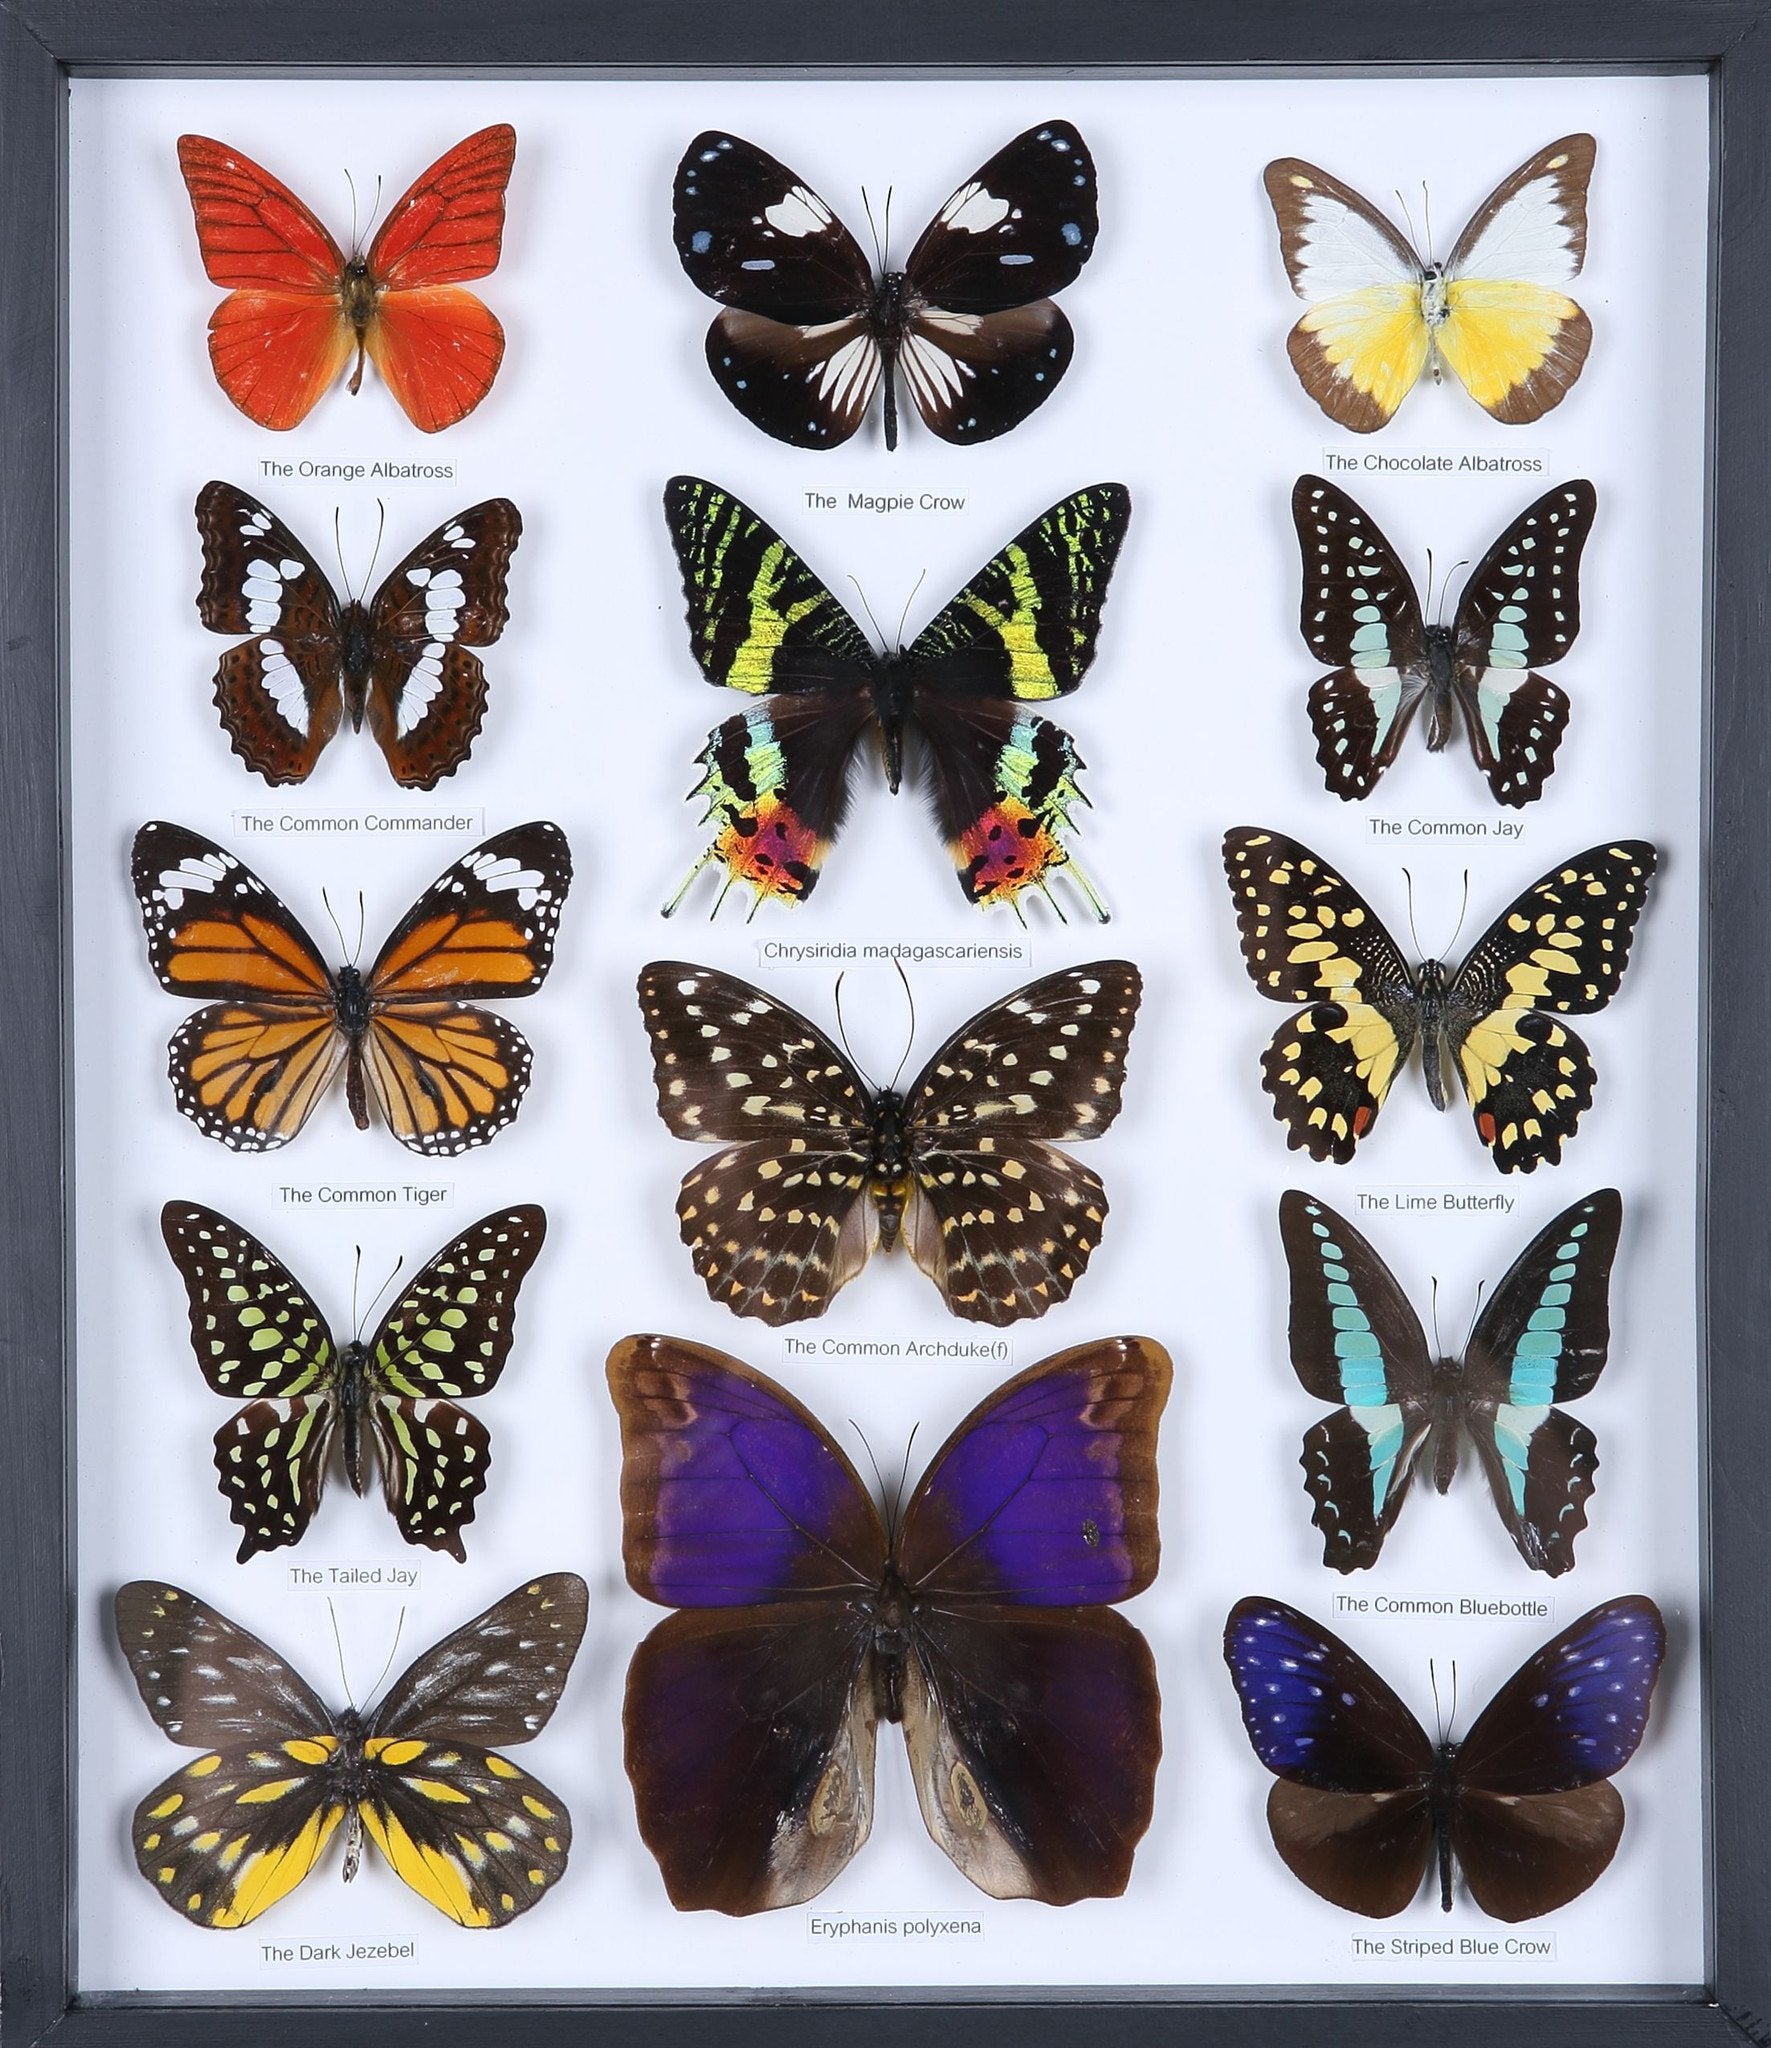
Rule 6: Spread Lepidoptera Symmetrically
Butterflies and moths must be spread according to specific standards.
Wing Position Rules:
-
Forewing angle: Rear margin perpendicular to body (90° angle)
-
Hindwing position: Rear margin just touching forewing
-
Symmetry: Both sides must mirror each other exactly
-
Antennae: Positioned forward and parallel
-
Body alignment: Straight, not curved or twisted
Why Symmetry Matters:
- Allows accurate species identification
- Shows wing patterns completely
- Creates aesthetically pleasing displays
- Standard for scientific collections
Rule 7: Position Legs and Antennae Naturally
For All Insects:
- Legs should be arranged in natural, lifelike positions
- Not splayed awkwardly or broken
- Antennae positioned forward (not backward or broken)
- Use pins to hold parts in place during drying
Specific Guidelines:
-
Beetles: Legs tucked close to body or slightly extended
-
Butterflies: Legs against body, not visible from above
-
Grasshoppers: Hind legs extended to show jumping adaptation
-
Mantids: Forelegs in characteristic "praying" position
Rule 8: Label Every Specimen
Unlabeled specimens have minimal scientific or educational value.
Required Label Information:
-
Collection data: Location, date, collector name
-
Identification: Scientific name (genus and species)
-
Determiner: Who identified it and when
Label Placement Rules:
- Labels pinned on the same pin below the specimen
- Collection data label closest to specimen
- Identification label below collection data
- Labels should be small, neat, and readable
- Use archival paper and permanent ink
Rule 9: Pin Specimens While Fresh or Properly Relaxed
Timing Rules:
- Fresh specimens: Pin within 24 hours of death
- Dried specimens: Must be relaxed in humidity chamber first
- Never force dried specimens—they will break
- Relaxing takes 24-72 hours depending on size
Rule 10: Use Proper Drying Time
Drying Standards:
- Specimens must dry completely before storage
- Small insects: 3-7 days
- Medium butterflies: 7-14 days
- Large moths and beetles: 14-21 days
- Test by gently touching abdomen—should be completely rigid
- Insufficient drying causes wings to droop and mold to develop
Advanced Pinning Rules
Point Mounting (For Small Insects)
When to Use:
- Insects smaller than 10mm
- Too small for direct pinning without damage
Point Mounting Rules:
- Cut triangular card points from stiff paper
- Pin goes through wide end of triangle
- Insect glued to point tip on its right side
- Use minimal adhesive (archival glue)
- Allows viewing of underside
Double Mounting (For Micro-Insects)
Minuten Pin Method:
- Ultra-fine minuten pin through tiny insect
- Minuten pin inserted into small cork or pith block
- Standard pin through the block
- Used for insects 2-5mm in size
Special Techniques
Large-Bodied Insects:
- May require internal support or stuffing
- Abdomen can be injected with preservative
- Support pins placed under abdomen during drying
Dragonflies:
- Long abdomen may need support wire
- Wings can be spread or left in natural position
- Colors fade quickly—dry in darkness
Common Pinning Mistakes to Avoid
Critical Errors
-
Wrong pin placement: Damages specimen or makes it unstable
-
Pin at an angle: Specimen slides down or looks unprofessional
-
Inconsistent height: Collection looks messy and unprofessional
-
Touching wings: Permanent damage to scales and colors
-
Asymmetrical spreading: Ruins display value
-
No labels: Specimen loses scientific and educational value
-
Insufficient drying: Wings droop, mold develops
-
Wrong pin size: Too thin (bends) or too thick (damages body)
Aesthetic Mistakes
- Broken or missing antennae
- Legs in unnatural positions
- Crooked body alignment
- Uneven wing angles
- Visible glue or repair attempts
Museum Standards vs. Display Standards
Scientific Collections (Strict Rules)
- Exact pin placement by taxonomic order
- Standardized height using pinning blocks
- Complete labeling with all data
- Natural positioning (not artistic poses)
- Preservation of all parts for study
Display Collections (More Flexible)
- Aesthetic appeal prioritized
- Symmetry and visual impact emphasized
- Labeling may be simplified
- Artistic arrangements acceptable
- Still follows basic pinning placement rules
Why These Rules Matter
Scientific Value
- Standardization allows comparison across collections
- Proper labeling preserves research data
- Correct positioning allows accurate identification
- Specimens remain useful for centuries
Aesthetic Value
- Consistent preparation creates professional appearance
- Symmetrical spreading showcases natural beauty
- Proper positioning creates lifelike displays
- Collections look cohesive and intentional
Preservation Value
- Correct techniques prevent damage
- Proper drying prevents mold and decay
- Appropriate pin size ensures stability
- Specimens last for generations
Learning Proper Technique
Resources for Beginners:
- Entomological society workshops
- Museum preparation guides
- University extension programs
- Online tutorials and videos
- Practice with common, abundant species first
Essential Skills to Develop:
- Steady hand for precise pin placement
- Patience for symmetrical spreading
- Gentle touch for delicate specimens
- Attention to detail for labeling
- Understanding of insect anatomy
Professional Alternative
Mastering insect pinning rules requires practice, specialized equipment, and considerable time investment. Many collectors prefer professionally prepared specimens that guarantee:
- Correct pin placement for each insect order
- Perfect symmetry and positioning
- Museum-quality standards
- Proper labeling and documentation
- Immediate display readiness
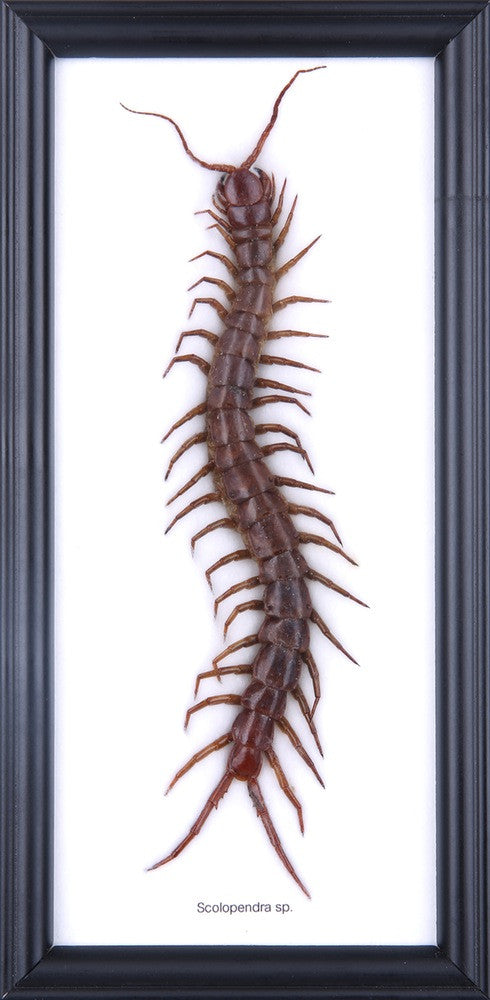
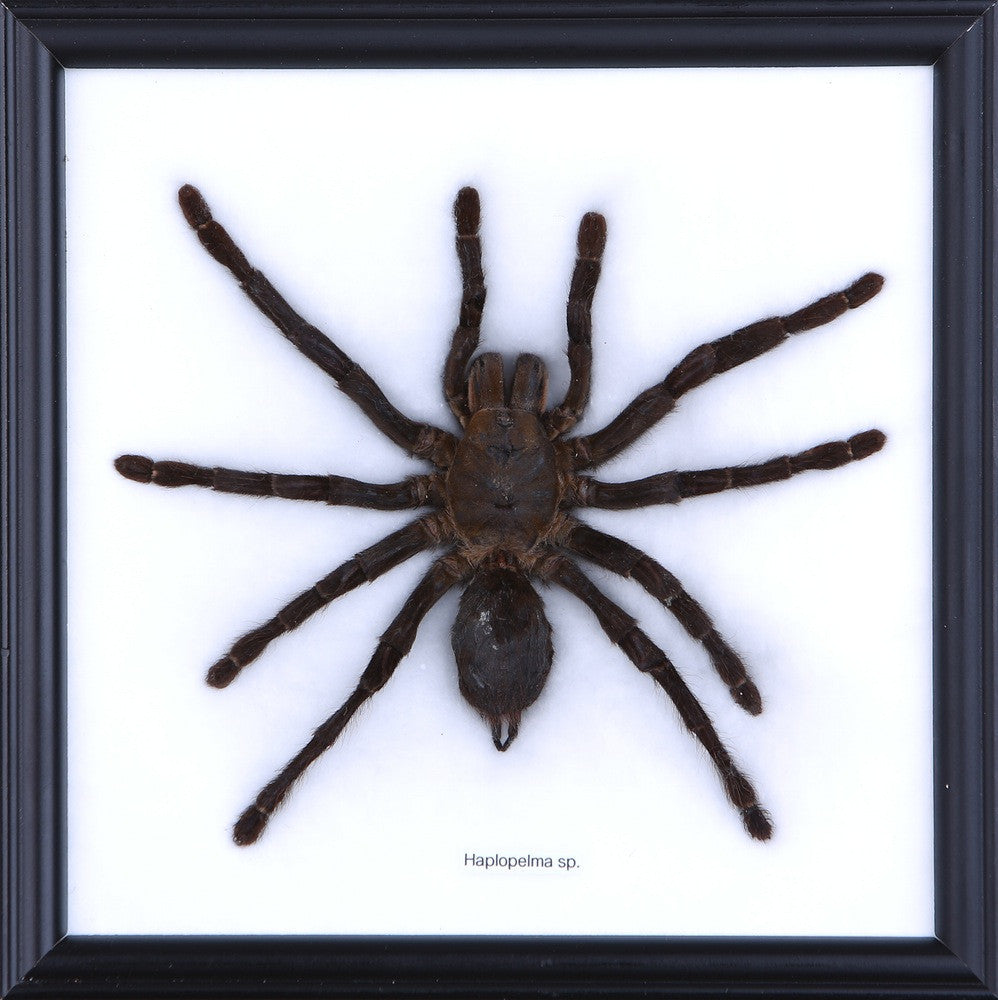
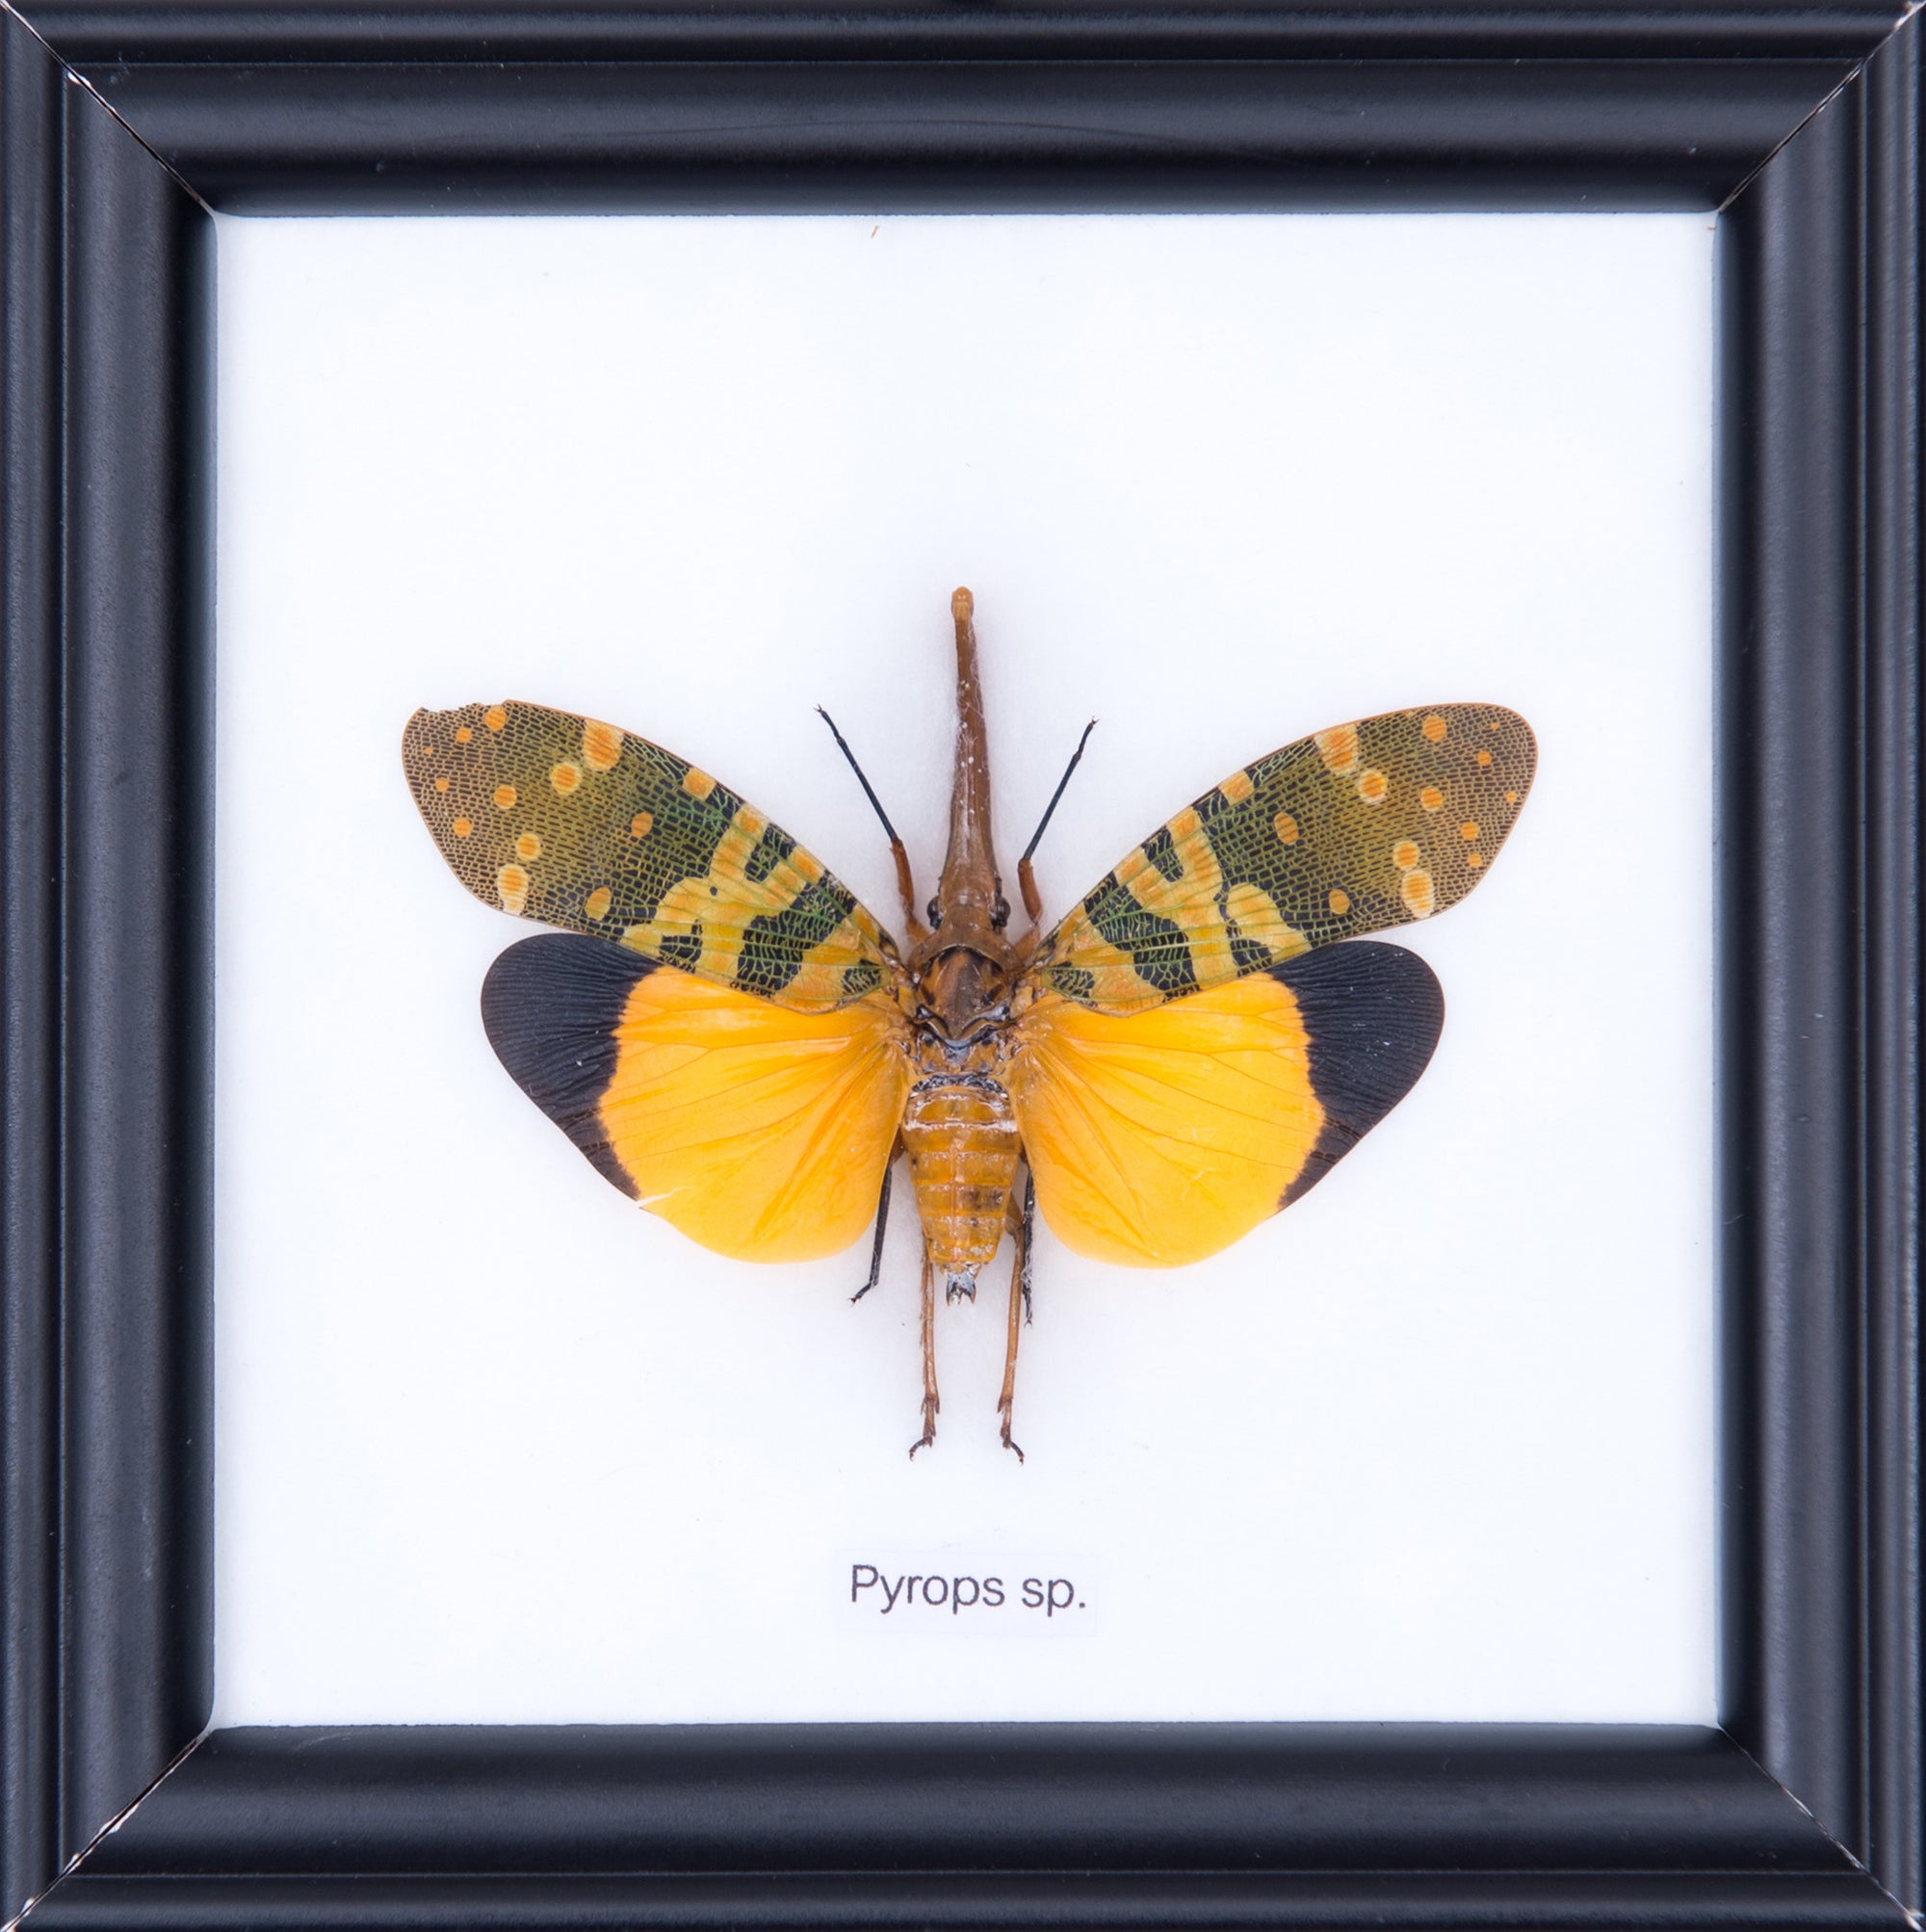
Museum-Quality Prepared Specimens
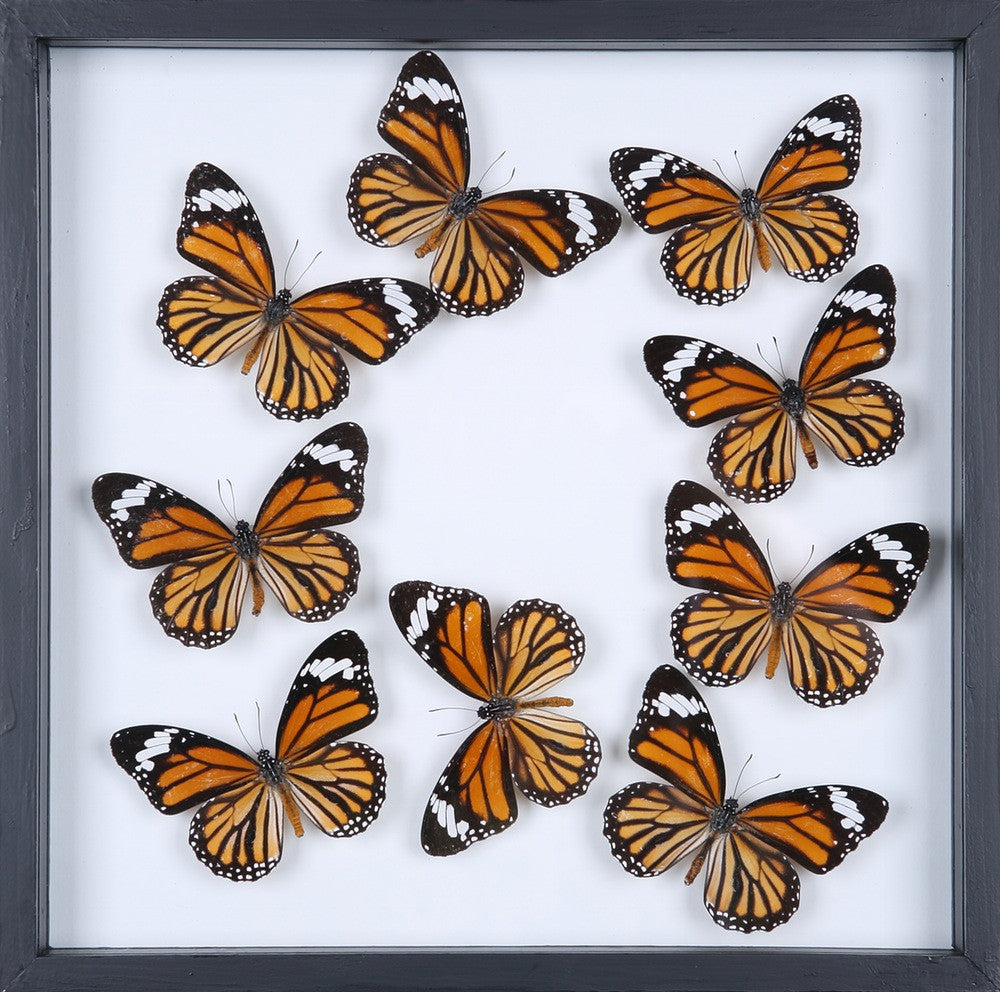
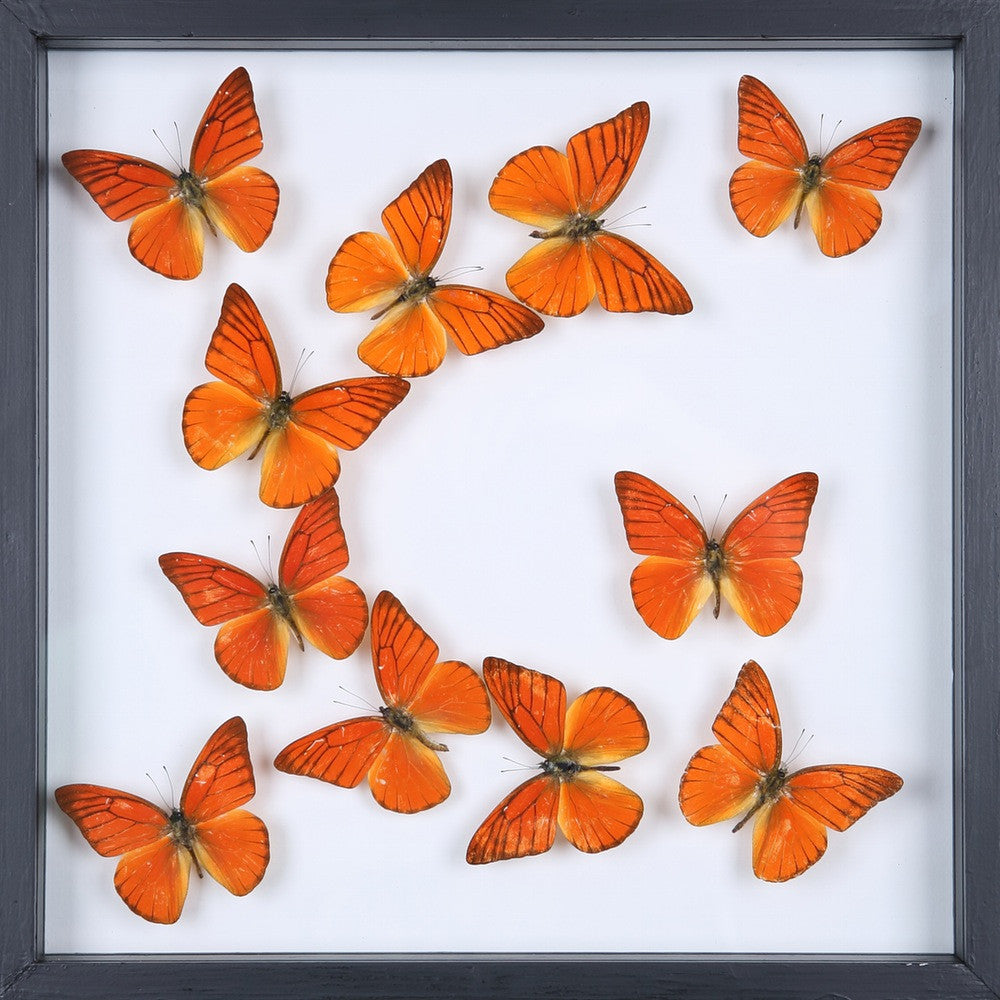
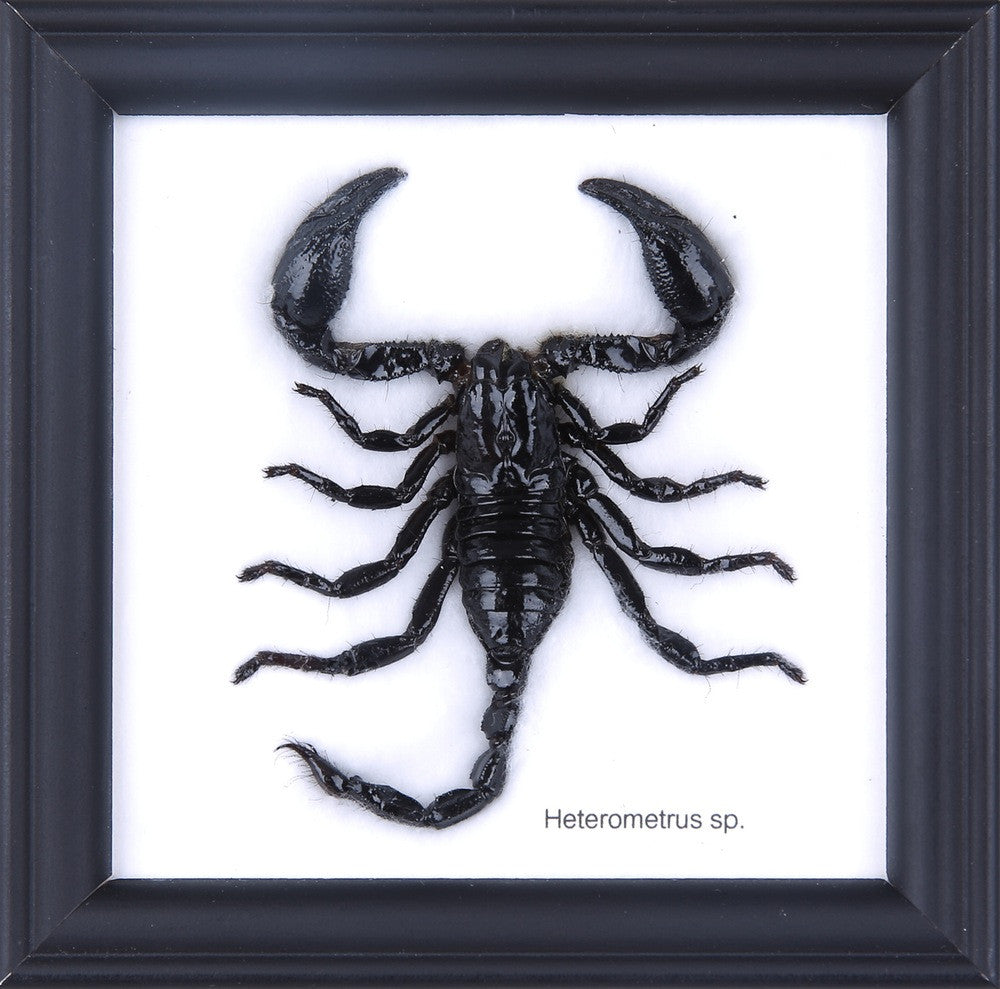
Our collection features insects prepared by expert entomologists who follow strict museum standards for pinning, spreading, and labeling. Every specimen demonstrates proper technique, ensuring both scientific accuracy and aesthetic excellence—ready for display or study.
Explore Our Professionally Pinned Collection